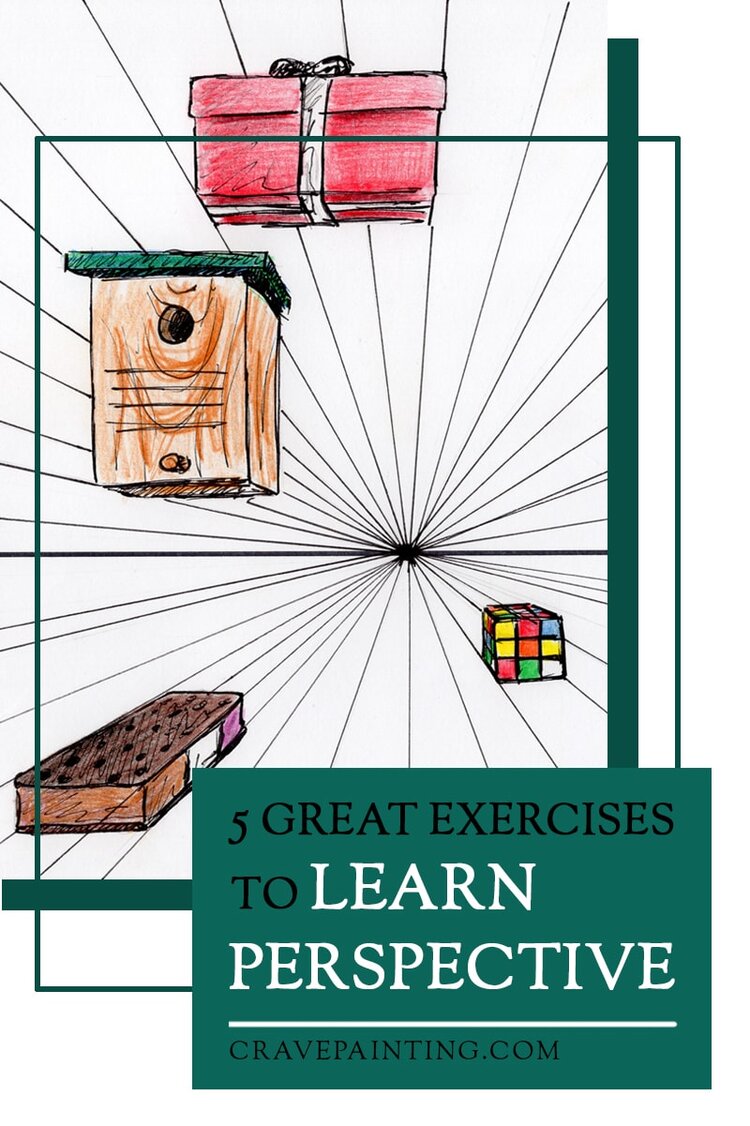
5 great Exercises to learn Perspective Drawing the easy Way
Let's do some simple practice exercises to improve our drawing and painting skills and learn some perspective! I’ve created these with beginners in mind, so don’t worry if perspective is a topic you are a little intimidated by, we’ve all been there.
Before you dive into these exercises make sure to have a look at my article One-point perspective: How it works and how to use it for your Art. It’ll tell you about how perspective came about, what it is exactly and you’ll learn some important terms and principles.
1 Erratic boulders
Let’s start out super easy and draw some boulders on a sheet of paper. Just the outline will do, no shading or texture needed. Importantly, draw them in different sizes and positions on the sheet.
Sketch of an array of boulders with no indication of perspective.
You’ll notice that there is little perspective and it’s hard to tell which of the boulders are far away from to the viewer, or indeed, how far.
The reason for that is simple. Things further away from us appear smaller. Our brain knows that and uses it to determine the distance of objects. But boulders come in different sizes and we don’t know what size the boulders that we’ve drawn are relative to each other.
For example, one of the tiny boulders in your drawing might be very far away, so in reality it would be much larger and tower over all the others if they were next to each other.
So, how are we going to indicate which of these boulders are how far away in the distance? We’re going to use some fun perspective tricks.
First, erase a few of the boulders and draw them again, overlapping some of the others. That’s the easiest way to make clear that one object is closer to us than another.
Of course we don’t want the boulders to look like they’re flying in the air either, so why not add the horizon line, towards the bottom of the boulder highest on the page. See how this already pushes some of them back and others towards the viewer?
Some overlapping already adds a bit of perspective and makes clear what’s closer to the viewer.
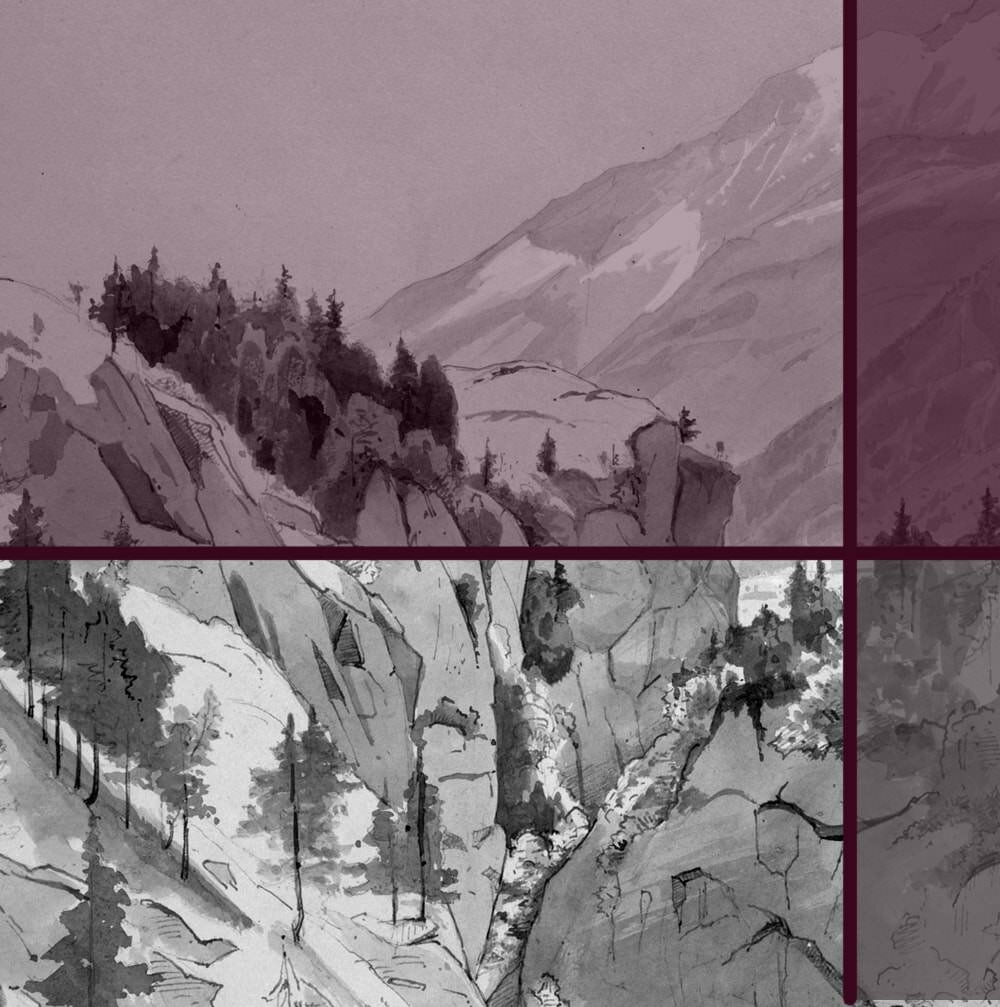
Let’s take this one step further with some atmospheric perspective. That’s the kind of perspective where objects further in the distance seem lighter, more blue-ish and blurred, because of the particles in the air between the viewer and the object.
Have another look at your boulders and decide which ones are closest to you, then paint them brown. Anything further in the distance will have more and more blue in it and become lighter.
If you don’t have any colours at hand you can also just shade them with a pencil, but stronger in the front and lighter in the back.
A bit of colour can ad a lot of perspective.
When you’re done you could also use a pen or darker shade of brown to strengthen the outlines of the closer boulders to make them pop even more.
2 Flying cubes
This one-point perspective exercise is specifically designed to help beginners practice the concept. Remember to read up on some basic principles in my related article first.
Draw a horizon line on an empty sheet of paper, as high or as low as you like. Then pick a vanishing point (VP) on that line. Remember, one-point perspective means one VP.
Next, use a ruler or other straight object to draw in a lot of convergence lines from the edges of the paper to the vanishing point. Keep the lines light but visible enough for you to work with throughout this exercise.
The lines don’t need to have the same distance from one another, so don’t worry about that. Draw quite a few, but of course not so many that you cannot keep them apart anymore.
Simple one-point perspective layout with horizon, VP and convergence lines.
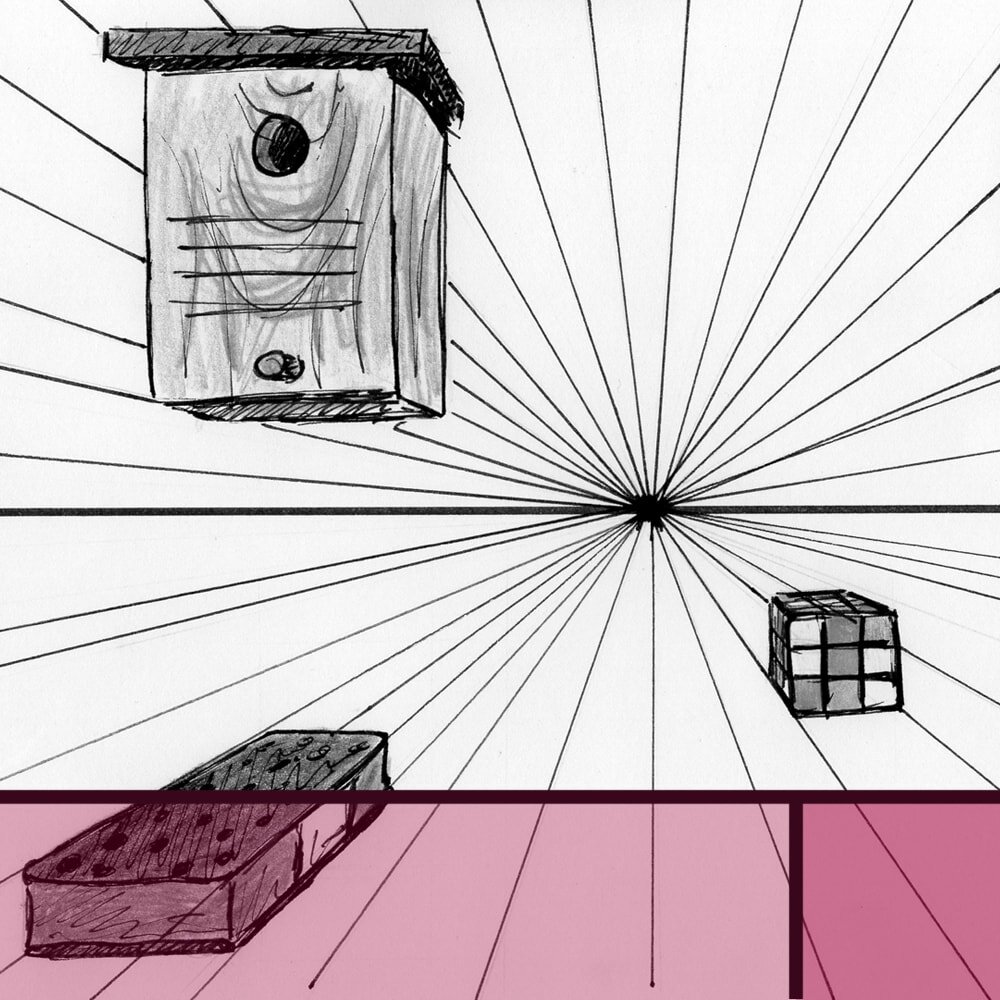
Now start drawing some one-point perspective cubes into the scene. That means draw them as if you were looking at one of the flat surfaces (almost) entirely straight on, rather than at one of the corners.
Anything above the horizon line will show a little of the underside of the object, because your eye level is below it, so you’re looking up at it. Anything below the horizon will show some part of the top, because you’re looking down.
As you go along, think of what these cubes and cuboids could be in real life, rather than just boring boxes, and turn them into other objects. This could be a tissue box, a dice, an old-timey TV, an aquarium, a book, whathaveyou.
Turning simple cubes and cuboids into objects in this one-point perspective sketch.
Don’t go too complicated, and don’t worry if your freehand drawing isn’t up to scratch, just have some fun with it. You can also colour them in if you like. The longer you spend with the objects the more time does your brain have to engage with the concept and fully understand it.
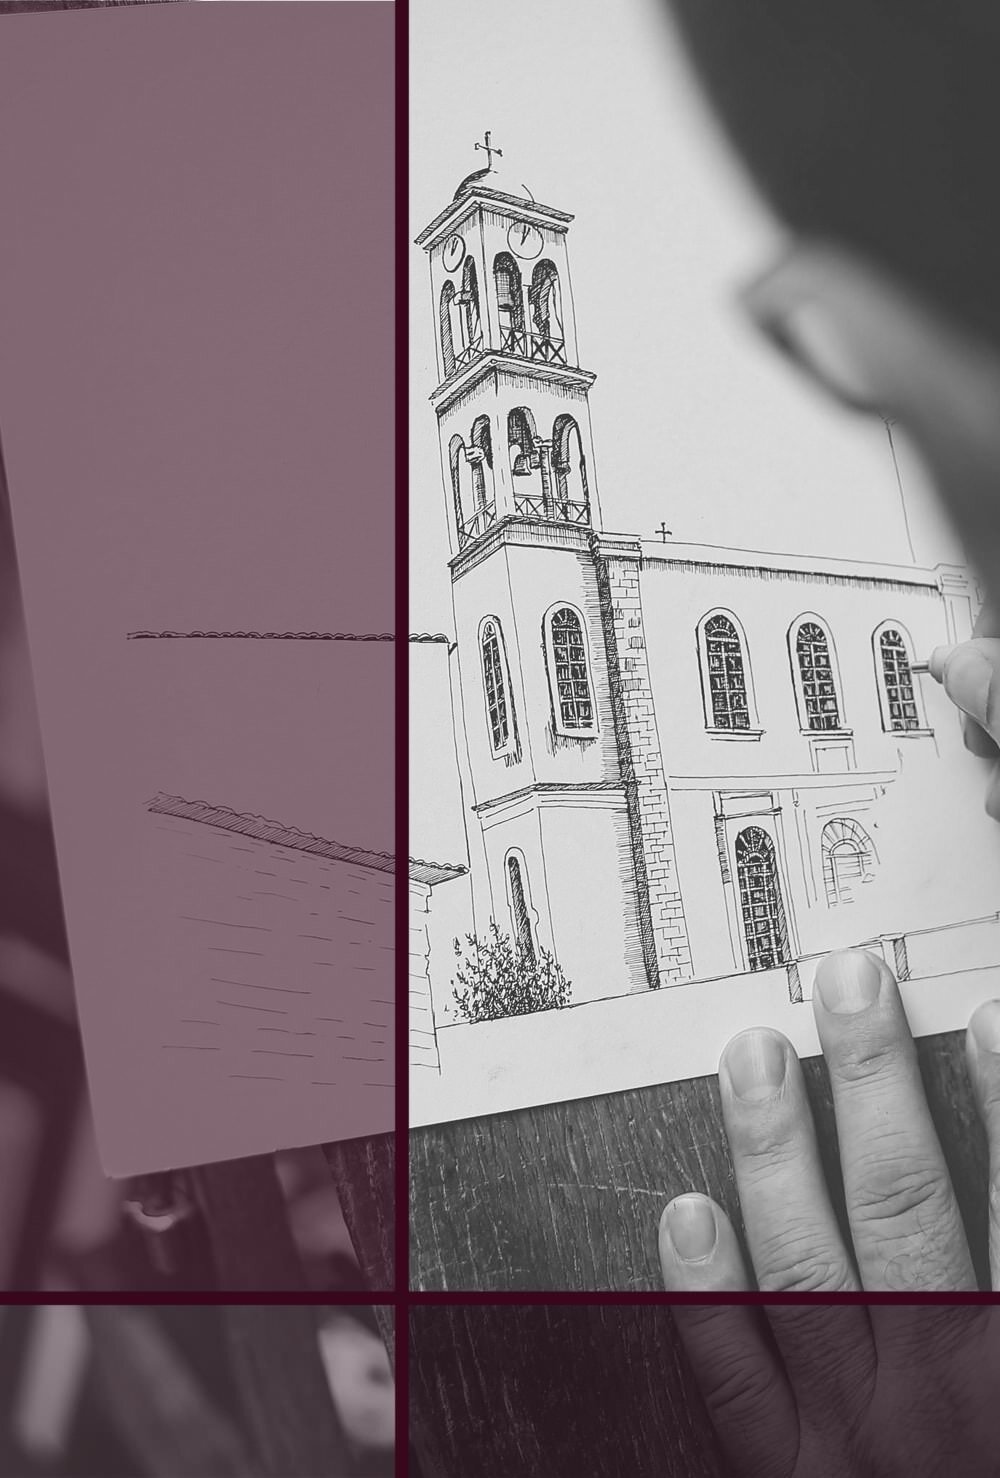
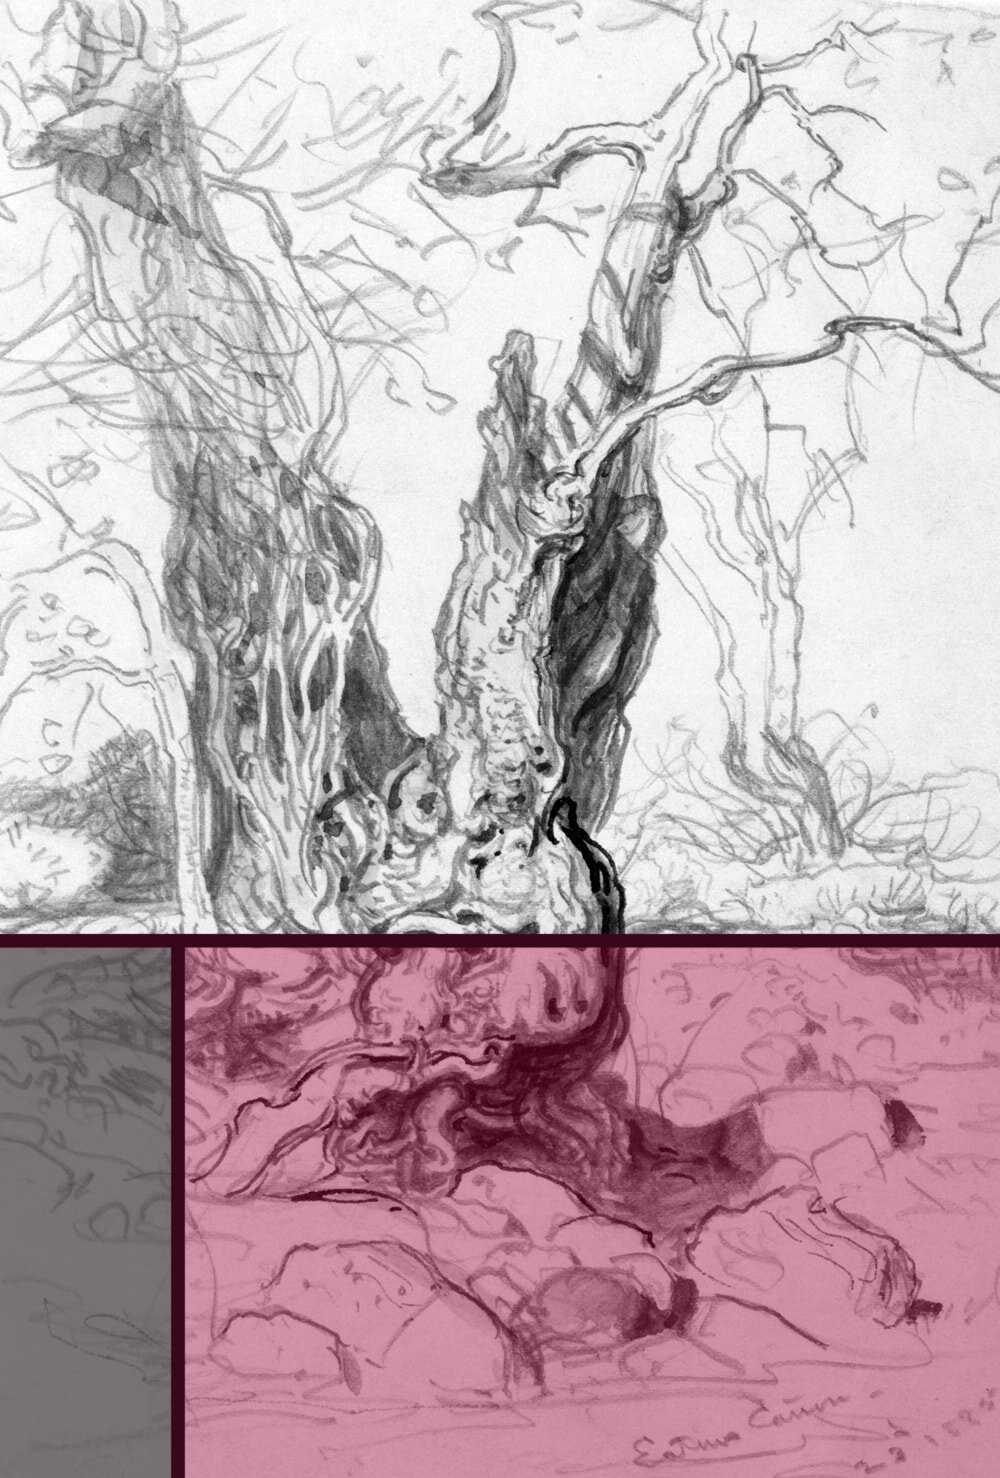
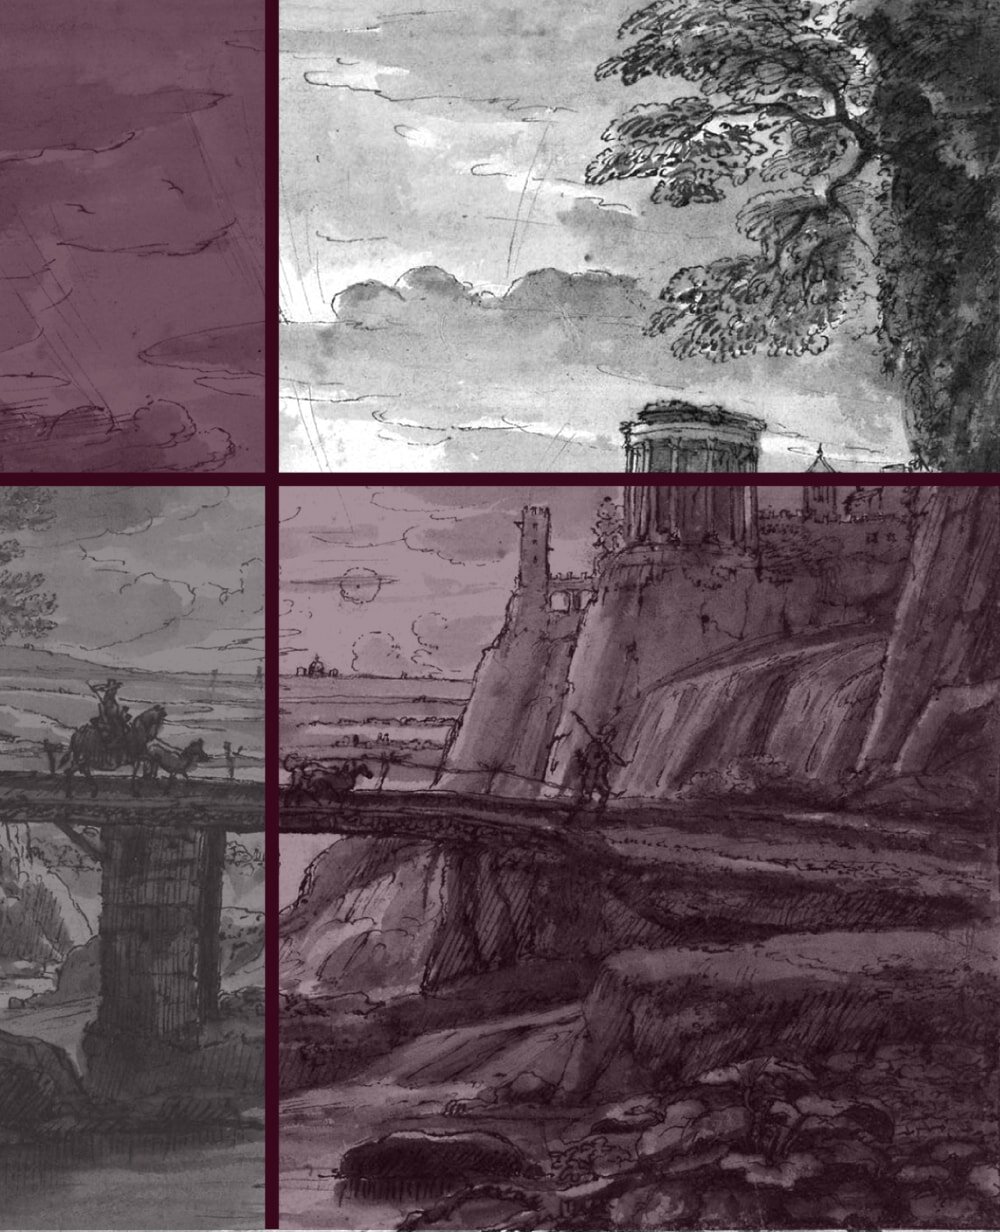
3 With a trace
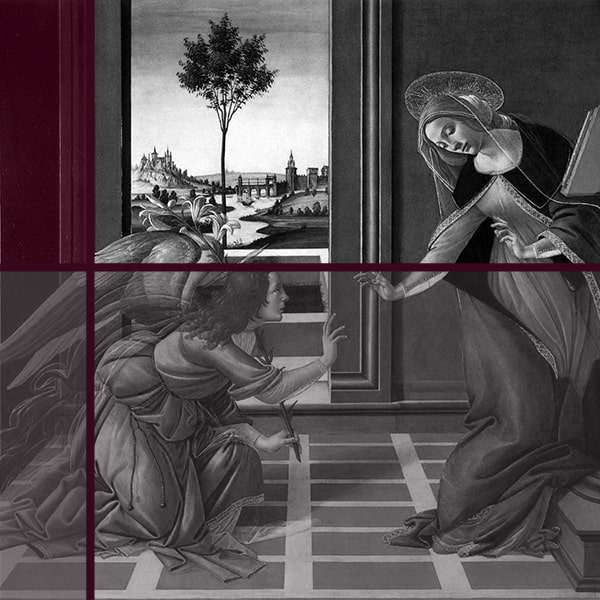
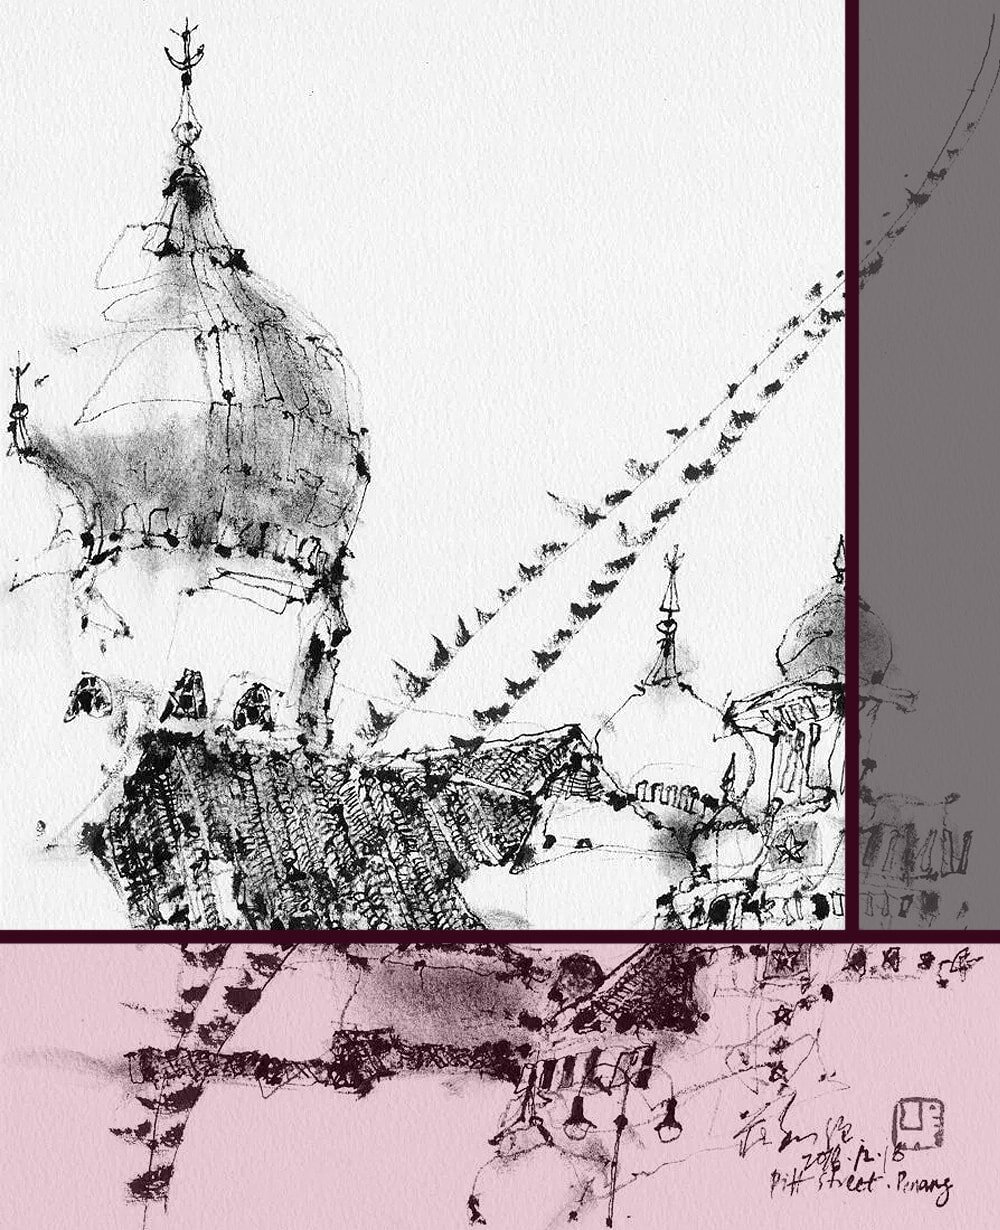
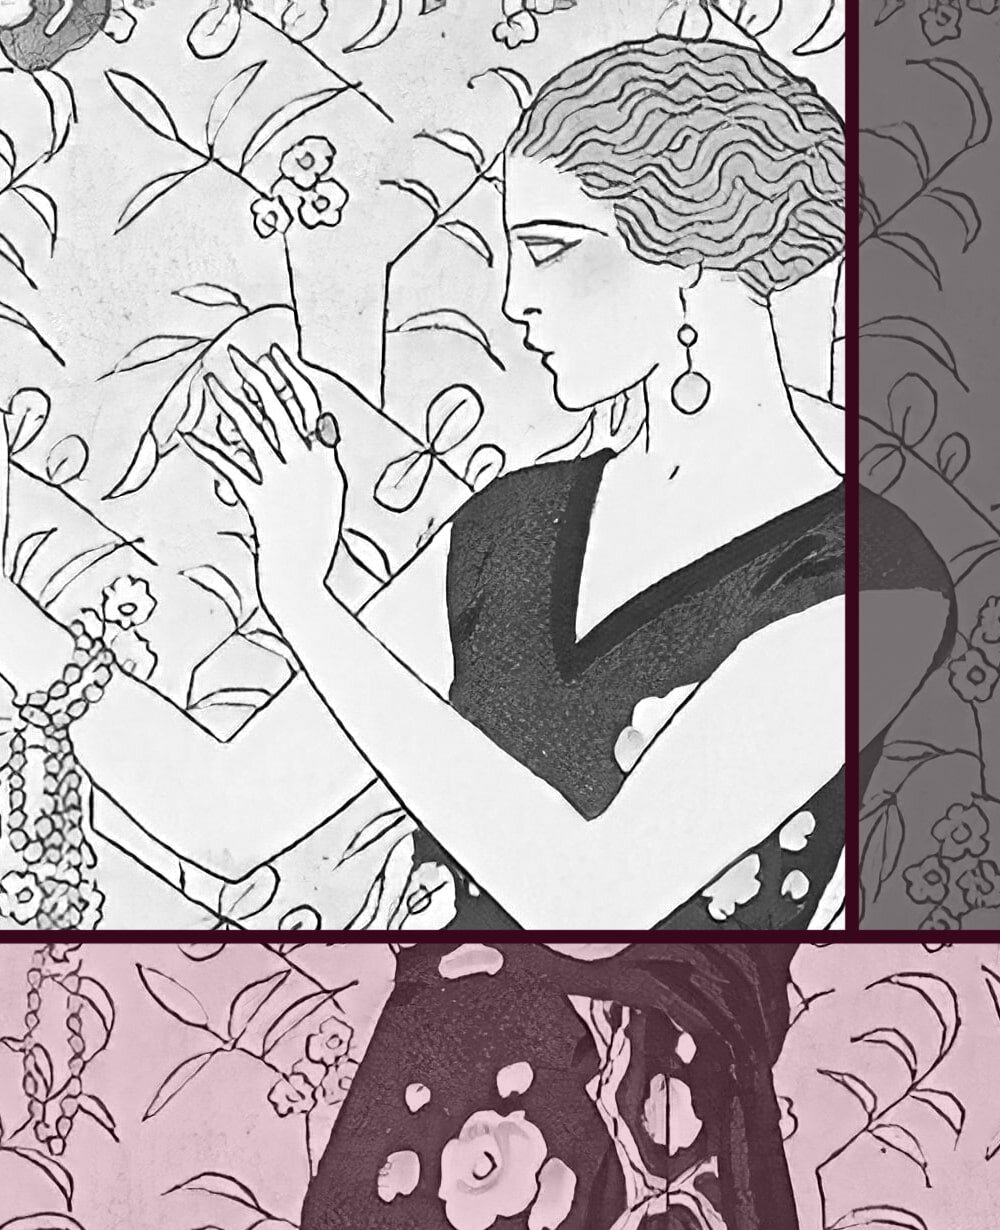
Here’s another great one-point perspective exercise for you. You’ll need a relatively thin piece of paper, like baking paper, and an image that’s in one-point perspective.
You could search on the Internet for things such as “interior design” or “street” that often show pictures in one-point perspective, you can use a picture from a book, or you can just take your own photograph.
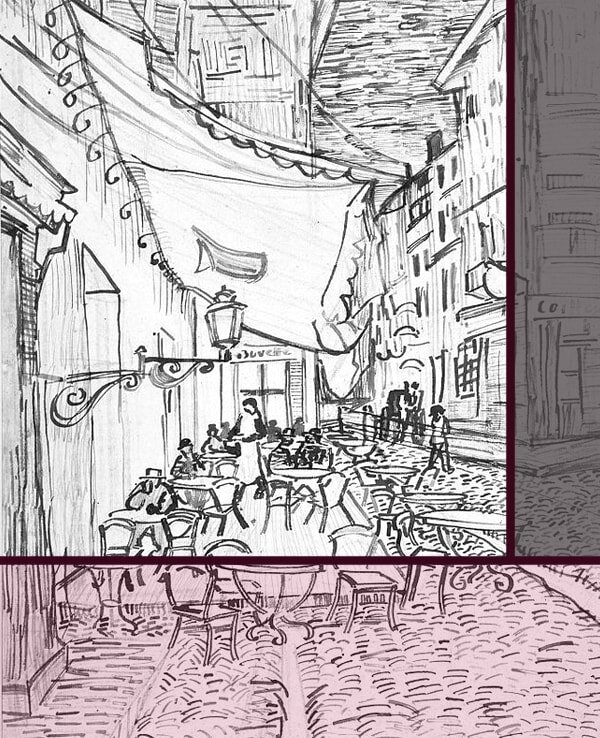
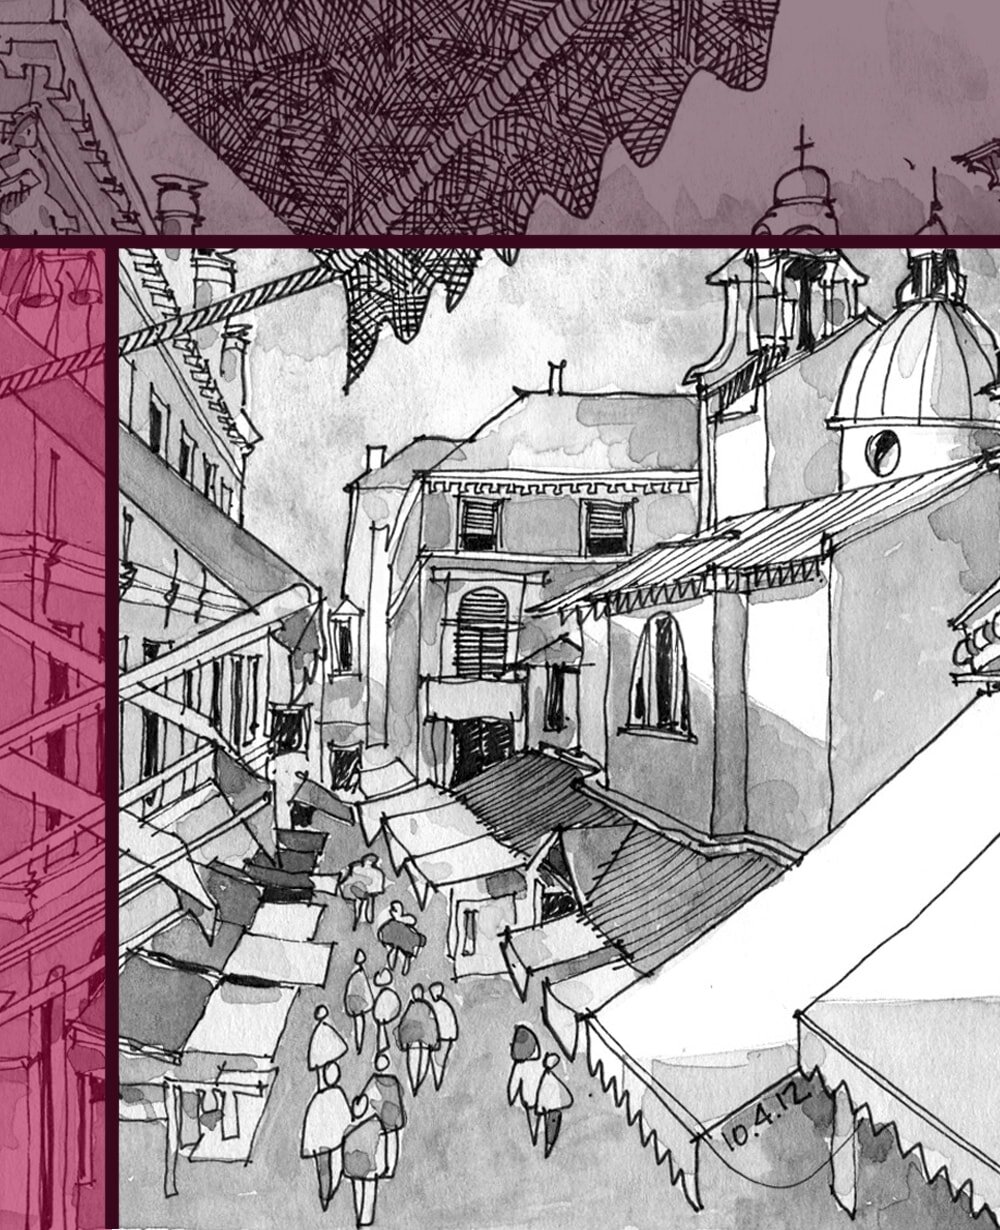
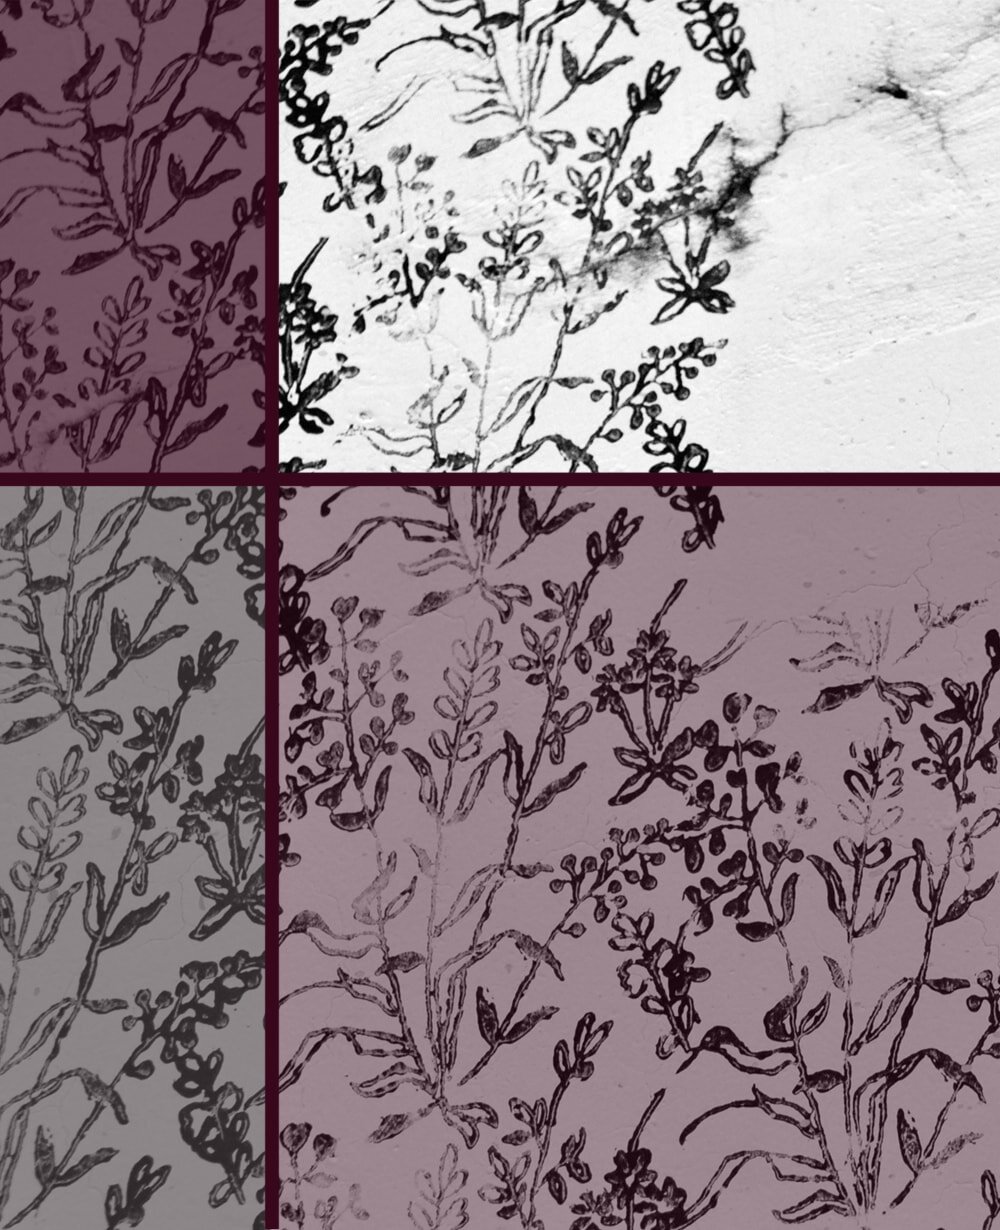
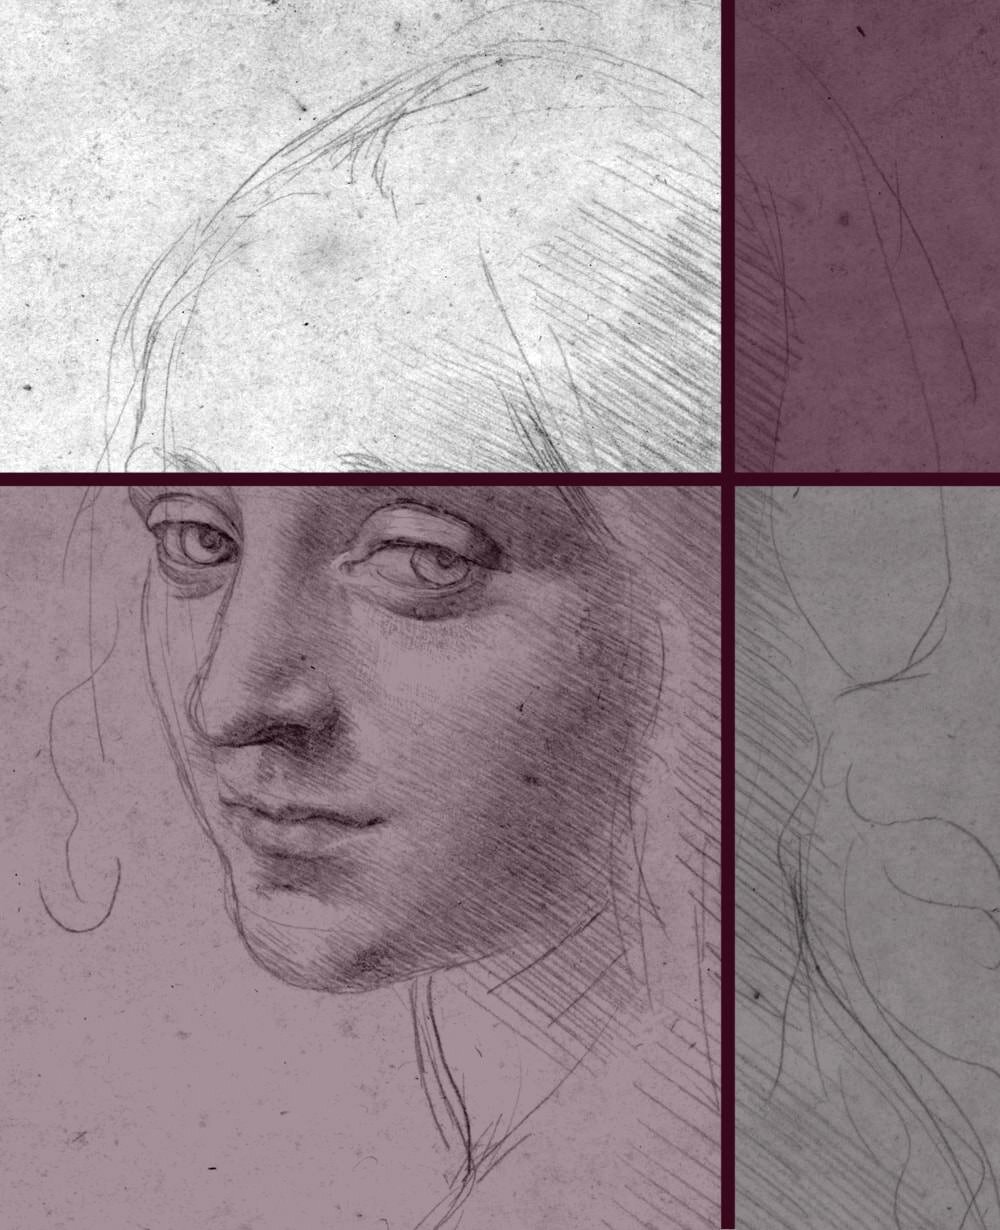
Here are some example images that you can use as well:


You’re now going to trace the example on your thin sheet of paper, so you’ll want to either print it out or open it up on your iPad or computer screen to lay the paper on top of it.
The most important point is that you only trace some parts of it and leave others out. You could trace the main lines of the wall but not the carpet or chest of drawers, or the road and houses but not the windows and doors.
I also recommend finding and drawing the vanishing point (follow the convergence lines) and horizon at this point as you’ll need it for the next step.
Turn over the original image so you cannot see it and add in the things you left out in your drawing just by using perspective rules. Anything that is in perspective and has a relatively straightforward shape works well. Don’t bother with the tiny details, shading or texture at this point.


When you’re done, compare what you did to the original and see if your perspective is correct. If not, go over the perspective rules again so you understand why it was off and correct it.
If you want some inspiration, my article Architecture-themed Art Prints that will Impress and Inspire you features a list of artists that have most certainly practised these exercises quite a lot, to reach the mastery they show in their work.
4 Two-point? Check.
Remember that one-point perspective grid we made in the second exercise? Now we’ll raise the bar just a little and create one for two-point perspective.
Draw your horizon a bit higher than the middle of your paper, so there’s more space below than above. Then, because this is two-point perspective, add two vanishing points on it, one on the right and one on the left.
Add your convergence lines in the direction of both of these VPs. When you’re done the layout should look a bit like a chessboard (it’s fine if some of the “squares” are actually rectangular).
Two-point perspective grid, looking a little like a chessboard.
Now you can start adding some boxes to the grid below the horizon line, as if you’re looking down on them. Use thin lines, as the boxes are just a perspective help.
Draw them relatively high, a bit like milk cartons, but try and keep their ground area square. If they don’t fit exactly in the grid just draw more convergence lines as you need them.
Milk carton-shaped boxes within a two-point perspective grid.
In two point perspective you are of course looking more at one of the edges of these boxes, rather than straight at one of the plains like in one-point perspective, so some of the lines will recede to the right VP, others to the left.
In most cases we know this intuitively, but if you’d like to read up on it a bit more here’s a splendid article by fellow blogger Helen South.
When you’ve drawn a couple of boxes and you’re confident the perspective is right imagine chess pieces within these boxes and draw those. I recommend sticking to a very simple design of the pieces, and perhaps leave out the knight (horse).
Simple chess piece design that’ll work well with this two-point perspective exercise.
In order to do this right you’ll need to draw ellipses (circles in perspective) into the bottom of the boxes, because often chess figures are round, not square. If this is an entirely new concept to you, you can have a look at this article, but the grid you drew will already help you a lot.
Of course not all the figures have the same height. Some might be a bit taller than the box you draw them into, others shorter. And, as explained above, what’s further away from us appears smaller, so that pawn close to you might be as tall as the king a bit further back.
Wherever you can imagine ellipses and draw those in perspective, then the actual chess figures around them.
Chessboard sketch designed with a simple two-point perspective grid.
Why did we draw the boxes first, if our chess pieces are round? Because it’s much easier for us to understand and work with perspective in form of boxes and it’s a very common and important concept to draw complex shapes into boxes in order to get the perspective right.
Don’t worry if this doesn’t turn out perfect, we’re just practising, after all. These exercises are designed to help you understand the concepts of perspective, not teach you impeccable drawing from imagination skills.
5 Not rubbish at all
This little exercise requires a bit of preparation but it's cheap, easy to do and super useful to help you understand various kinds of perspectives.
Grab an empty milk carton, tissue box or any other object of cuboid shape. You'll also need a ruler and a dark marker (or paint and brush). In my example I've also used some leftover wall paint to give the carton a quick coating but that's not a must.
Drawing shapes on an empty milk carton makes for excellent perspective practice.
Imagine your object was a tower and draw some archways on the sides. The easiest archway shape consists of a circle that is halfway inserted into a square (see image above). All of them should be roughly the same size, so if you have the time it helps to make a quick template on paper and cut it out to trace around.
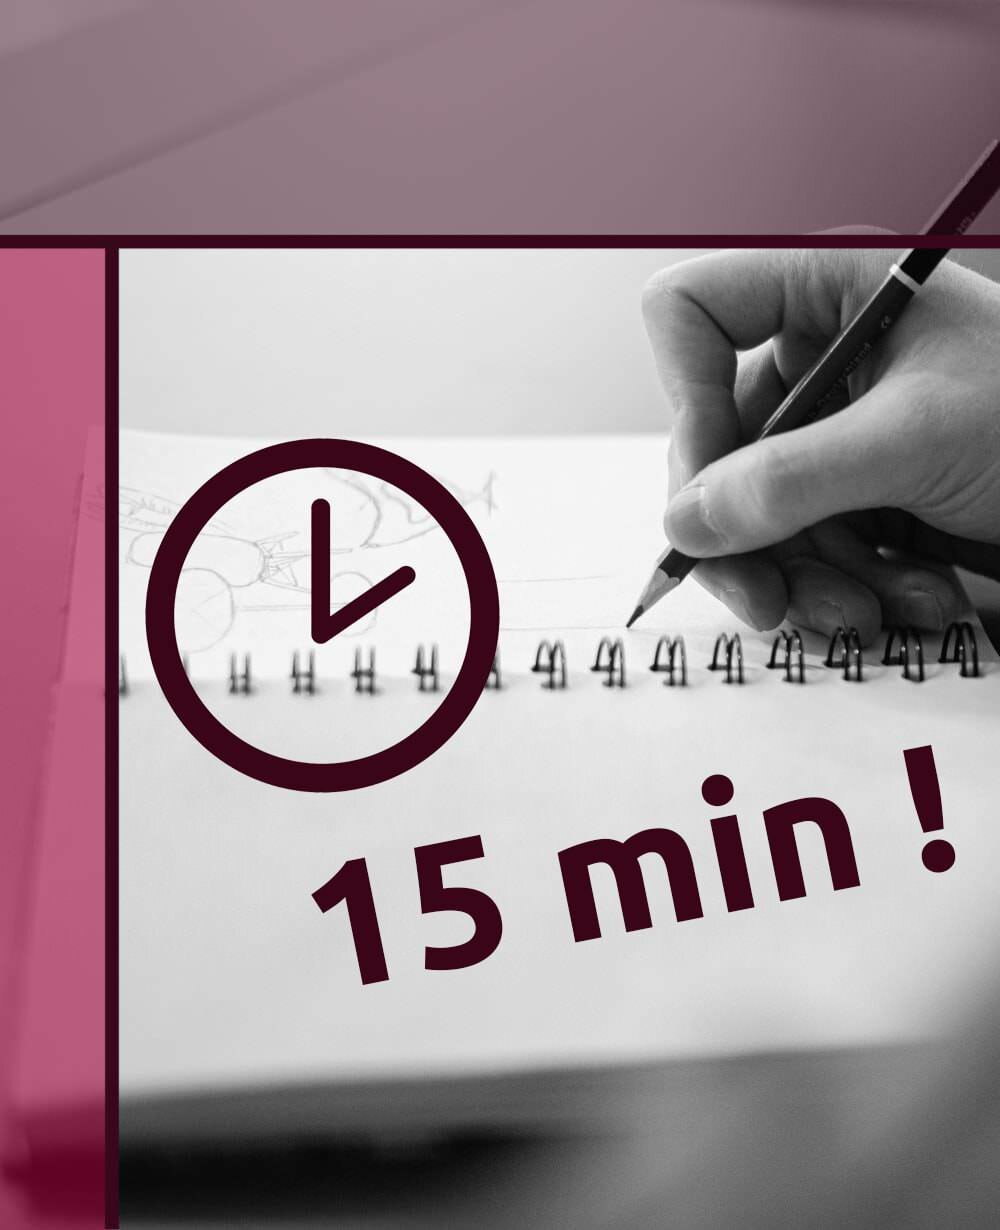
When you're done put your tower on the table in front of you and sketch it, in a very simple form, from different angles.
Sketching the carton from different angles will teach you a lot about different kinds of perspective.
The archways might be a little difficult for you to get right at first, but you'll soon get the hang of it if you keep reminding yourself you're drawing a circle (or an ellipse, to be exact) and a square. Drawing centre lines and diagonals can help in the beginning.
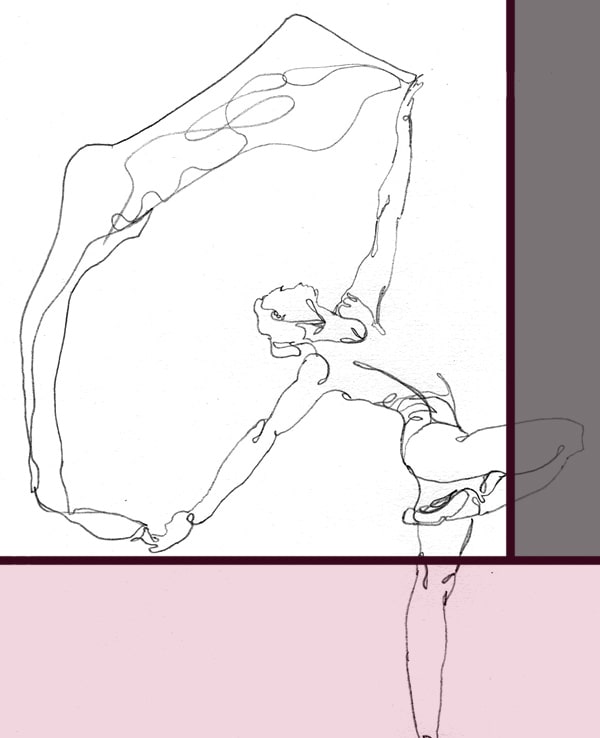
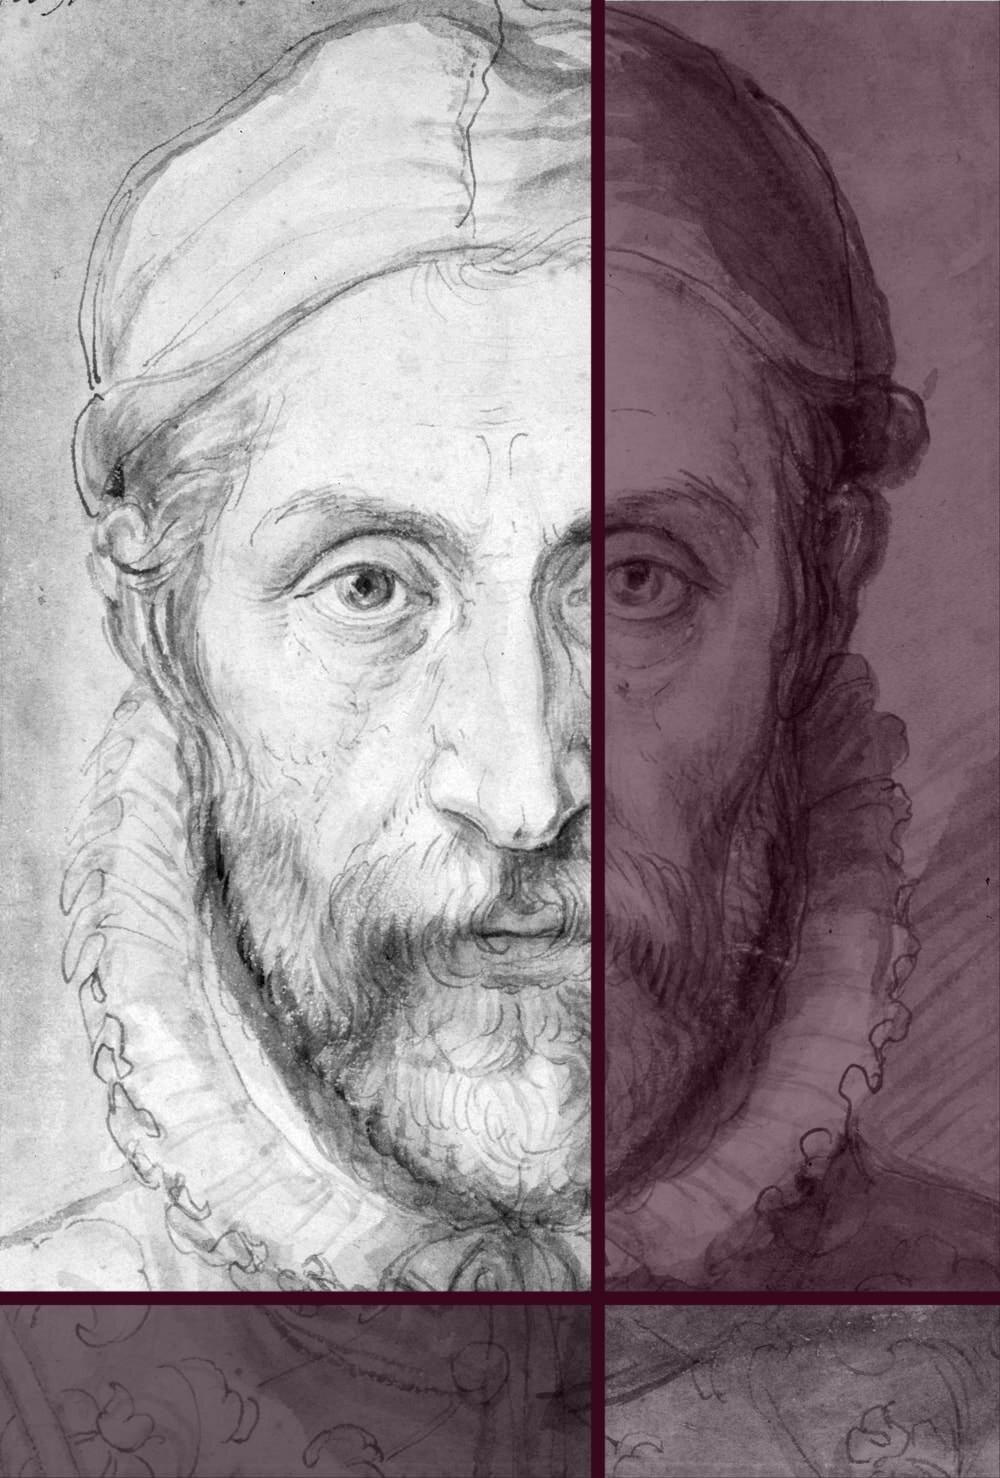
Using an easily available object (like the milk carton) as a model to draw a more complex one (like a tower) is a technique used for centuries by master artists.
Young woman with unicorn by Raphael (1506), oil on canvas
Unicorns, for example, were very popular symbolic animals during the Renaissance, but they were hard to come by. So, the artists helped themselves with dogs or goats as models to get the basic features right and just adapted them a little to create a unicorn.
If you want to spice things up a bit you can also draw other shapes on your milk carton. You could try triangles, rhombi, stars or even letters.
Once you feel like you’ve practised enough, why not pop by my article 8 simple Steps to Draw interesting Streets and Buildings, so you can get started with your next masterpiece. Or browse through my general exercise section for more fun things to practice.


Did you enjoy this article or feel like you have anything else to add? Feel free to leave me a comment below!
If you like this post, please share it, so others may like it too!