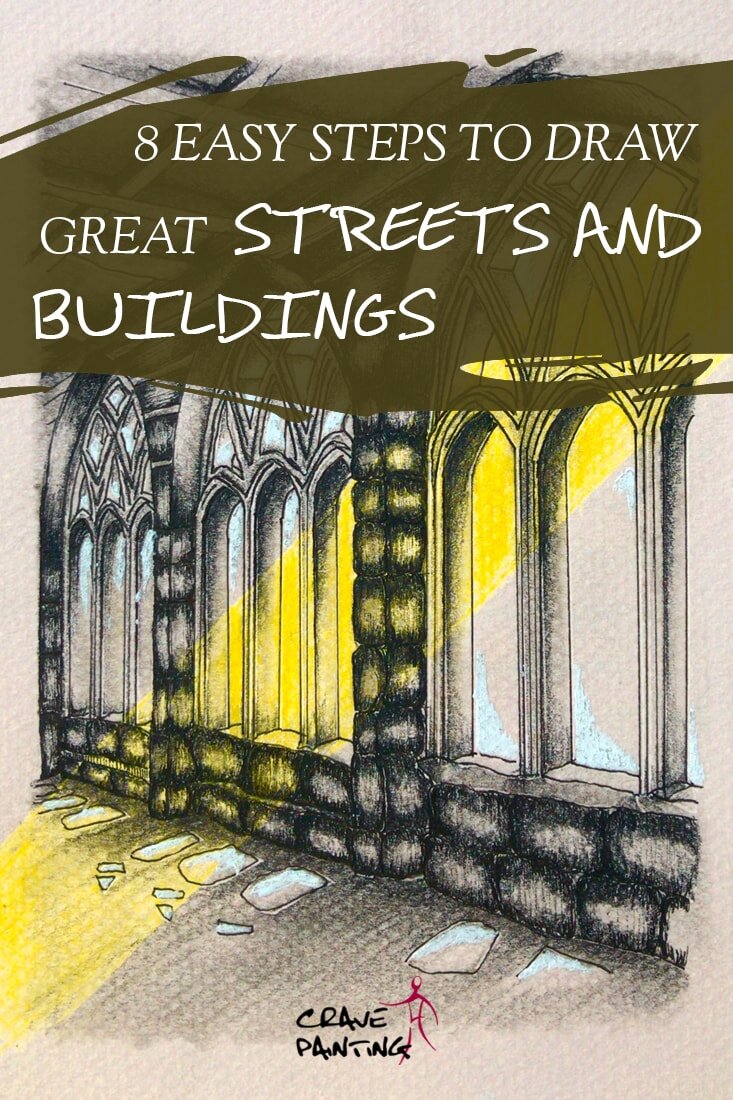
8 simple Steps to Draw interesting Streets and Buildings
Drawing architecture can make for fascinating art, especially if you follow some easy steps for composition, perspective and process.
Not everyone likes to draw houses, it’s true. But, as we’ve touched on in Why Sketching Architecture is so Helpful for Beginners, it’s not all about houses and cathedrals. There are bridges, sculptures, castles and other historical sites, interior architecture and even details like windows or brickwork.
Any kind of architecture sketch is only as boring as you make it out to be. In fact, if you follow these few simple steps I promise you’ll be half way to a true masterpiece in no time!
1 Get inspired
The best thing you can do before you start drawing architecture is to have a look at other artwork featuring buildings, especially if you’re new to the topic and not quite convinced it’s for you.
Even if your usual choice of subject is animals or landscapes I can assure you there is architecture art out there that you’ll simply adore.
How do I know that? Because it wasn’t my first choice either, when I reached that topic in my Sketching Project. Yet, here I am, writing blog posts about how awesome it is to draw buildings.
Much like with Still Lifes, sometimes it just takes an open mind and a bit of research to find that something you usually don’t consider can make for a super interesting subject.
So, before you dive deeper into the topic why not take a half hour or so and have a look at some fantastic architecture drawings and paintings?
Some places seem to have been built with urban sketchers in mind, like Victoria Street in Edinburgh’s Old Town.
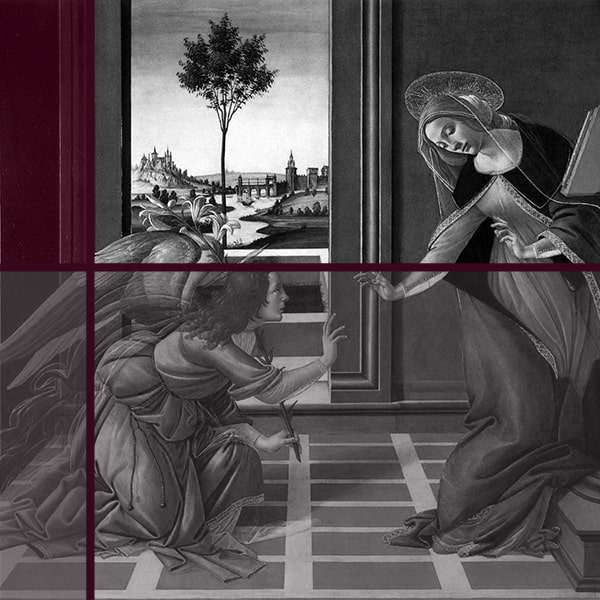
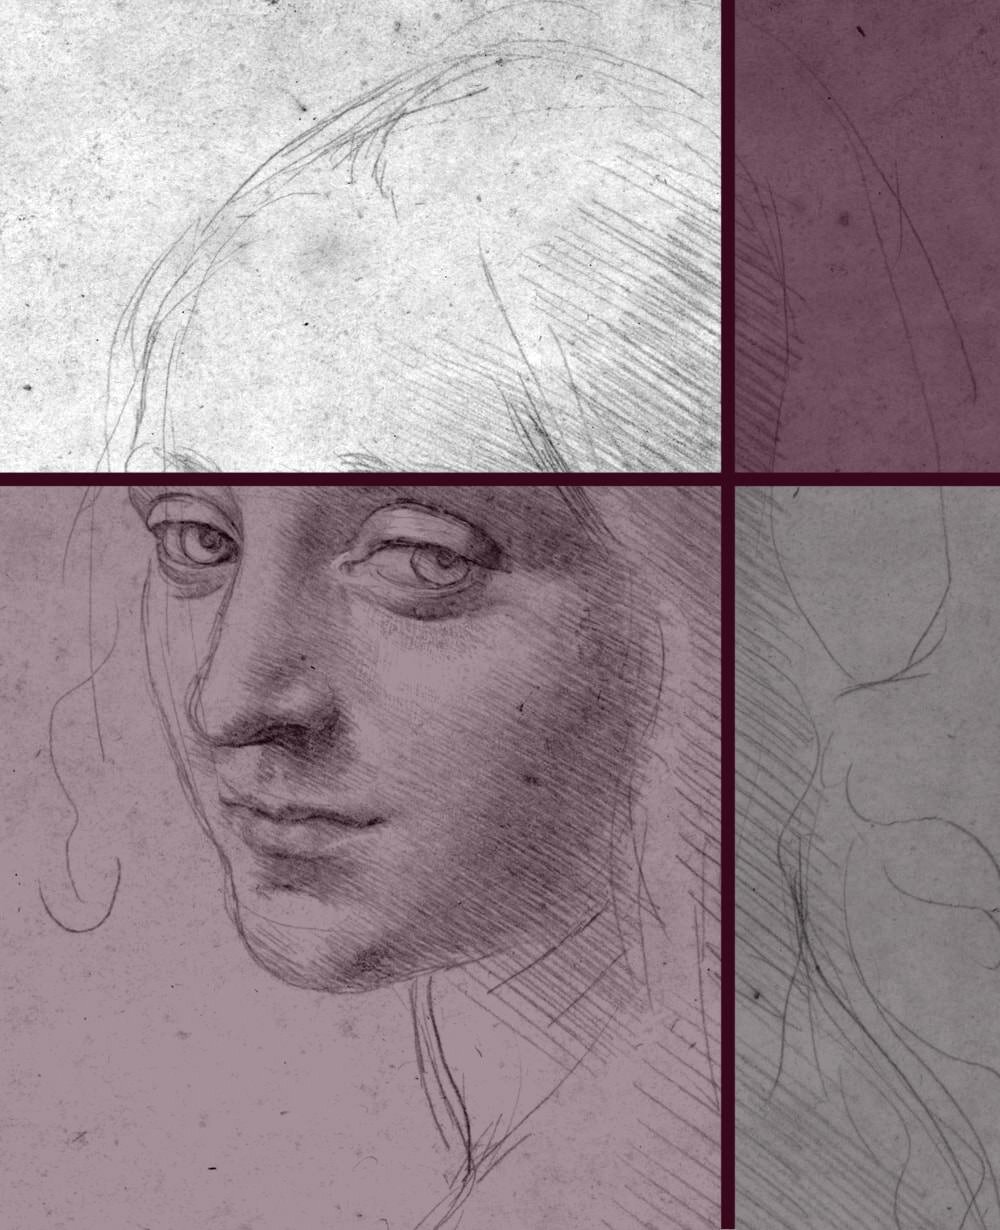
You could go through the works of your favourite artists, quite often they have found at least some buildings worth their time. Van Gogh, da Vinci, Picasso, all of them will have something nice for you to study.
Or you can have a look at my post Architecture-themed Art Prints that will Impress and Inspire you, which features modern artists from Etsy, a website selling handmade things. All of these are skilfully done and extremely inspiring. No better way to get yourself in the mood.
2 Pick a subject that speaks to you
As mentioned above, architecture is a very broad term and encompasses a great many types of buildings and designs. Not everyone will take a liking to every style, and that’s perfectly fine.
With a bit of patience and an open mind you’re sure to find something you can’t wait to get on paper.
All you need to do is have a little wander. Whether you live in the city or in a tiny village, put on your shoes and take to the air.
If you cannot find anything of interest where you live, or you’ve already sketched it all you can always switch locations or wait until your next vacation.
Either way, listen to yourself. If everyone and their dog is gathering around a certain view, be it the touristy sights or just a spot popular with artists, it doesn’t have to mean that it ought to be of interest to you, too.
Find something that speaks to you, with no regard to what you think is the correct building to choose. Even if it takes a little time to find such a view.
If you like castles and English cottages in the snow, go for it. If you prefer glassy skyscrapers or iron bridges sure thing, sketch away.
3 Create an interesting composition
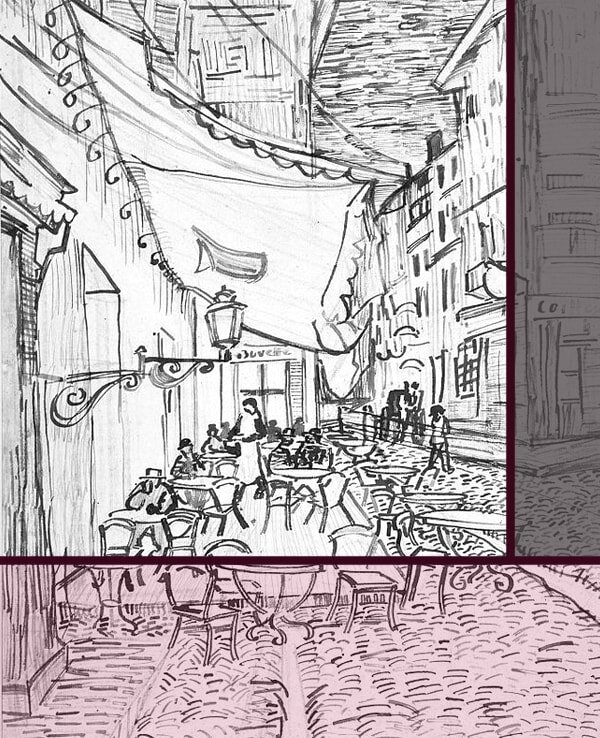
Of course you can just draw a straight on, eye-level-view replica of the building(s) you’re looking at, with the focal point around the middle of your page. This kind of composition works well for certain subjects and is a style in its own.
However, in most cases an angled view that is less straightforward and centred will be a better choice, especially for architecture. This avoids your final piece being too flat, symmetrical and, excuse the French, dull.
Instead, follow some of the examples from my above mentioned post Architecture-themed Art Prints that will Impress and Inspire you and see how creative the artists there were with their composition.
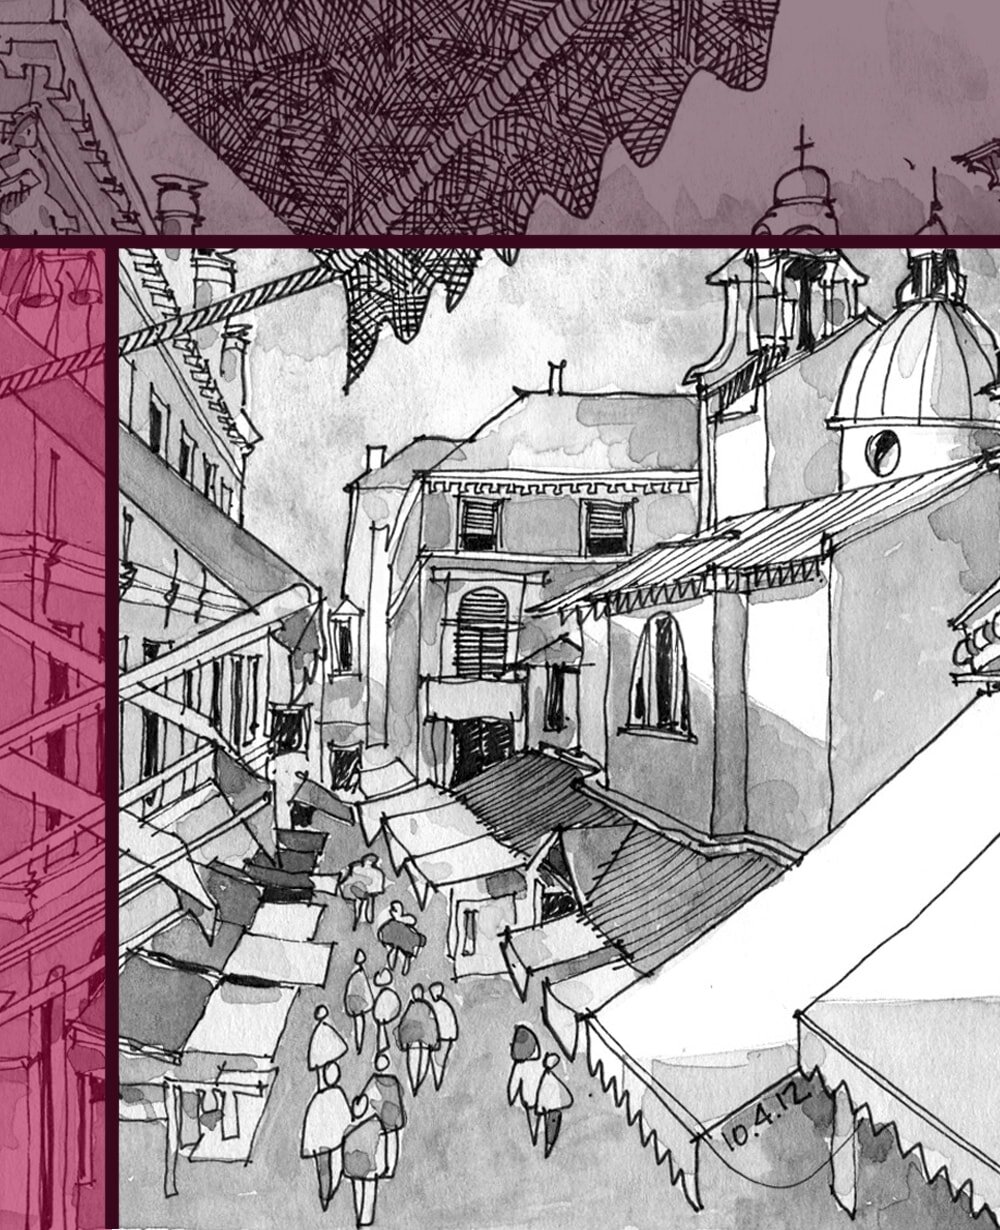
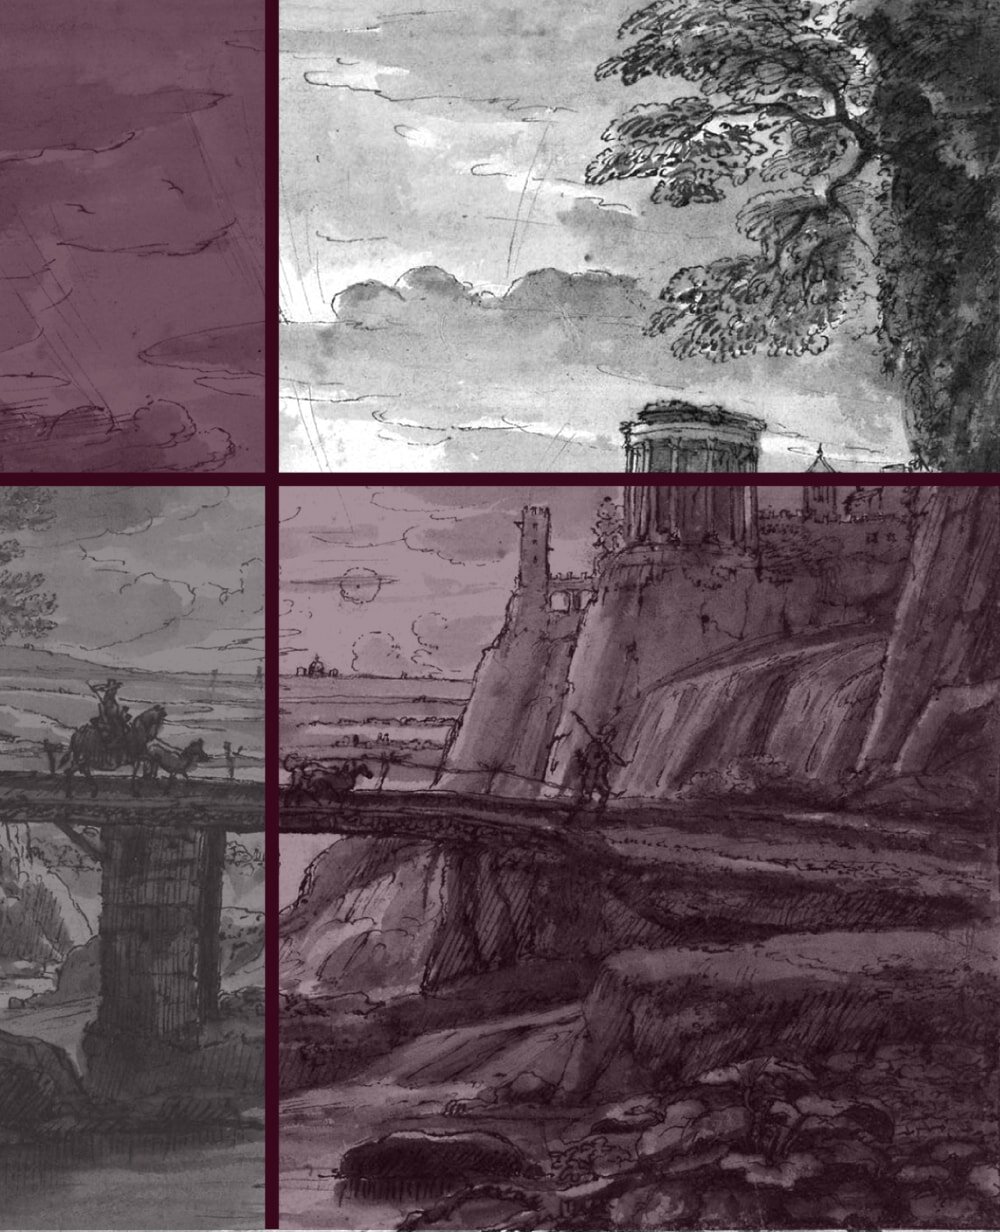
This quick sketch shows a very successful composition with the palatial building as focal point but the stairs on the right and courtyard on the left also drawing the eye and adding interest.
Even though we humans often draw things straight ahead at our standard eye-level, either when we’re standing upright or sitting straight, that is by no means a must.
For very tall buildings it can look amazing if you use a nice worm’s view (looking up), or, bird’s view, looking down from it onto other buildings. These kinds of angles can be very dramatic, or you can use them very subtly, depending on the effect you’re after.
Since architecture is usually designed to be symmetrical drawing it from an angle can help your final work to look less flat and more interesting.
You could walk around your building and see if there is a particular view that will just be perfect for your next masterpiece. Do always keep an eye on the background as well, as that can have a strong effect on a composition.
For any artwork that will take me longer than a few minutes I find it helpful to do a couple of quick thumbnail sketches (small sketches of no more than 10 seconds each) to test out different views and compositions.
And of course there is no rule that you have to draw the entire building. You could draw just a few windows, some brickwork a bit of roof and a tower, that’s entirely up to you. Whatever interests you the most is what you should go for.
You can also make a decision on the kind of weather conditions you want for your work. Should it portray a wonderful sunny day, some more stormy weather or is it pouring down?
Rain can add incredibly interesting reflective effects, as you can see in the works of painter Leonid Afremov.
For more info and tips see my related article Composition in the Arts: How to plan a Drawing or Painting.
4 Decide on a style
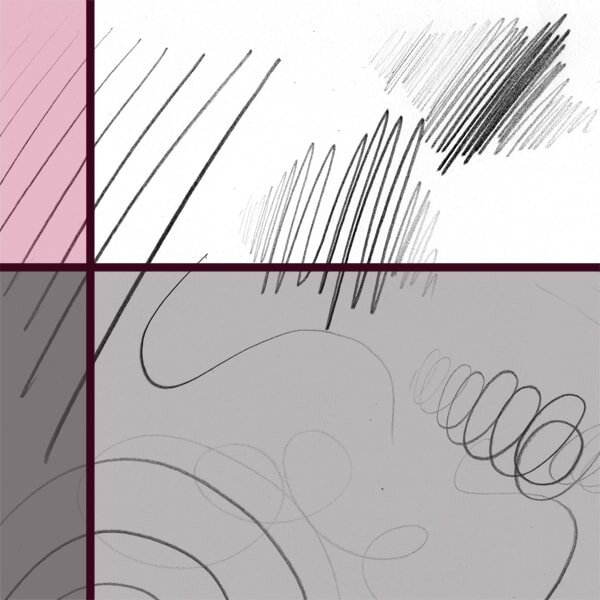
If you like to experiment it can be great fun to try out different materials and find the one that can best portray the particular kind of architecture you are drawing.
For example, a subtle coat of water colour might work well with delicate Japanese temples, scratchy charcoal would be great for a wooden cabin and neat pen could be good to portray a glass skyscraper.
Even the most ordinary building can make for a fascinating sketch if the artist uses an interesting angle or medium.
Naturally there’s also a matter of how you are using your chosen medium. Because as we all know, any drawing or painting material can be used to create a great many different styles.
With a pencil for instance you can use subtle, squiggly lines or you can go dark and straight. You can paint realistic or abstract, impressionist or minimalist.
You can follow your usual style, or you can use an approach that reflects the kind of architecture you chose to portray, or even just your mood of the day. If you would like to relay a specific message, be it philosophical or political, think about how you can best do so with the materials you selected.
For example, it is within your power to make an ugly building, like a 1970’s-style pure concrete residential tower, look even more atrocious, or you can make it look beautiful.
Naturally there are also no rules stating that you have to use colour that reflects reality. On the contrary, it can be great fun to select colours for other reasons, such as what you feel, what you want your viewers to feel, or just use your favourite colours.
For some absolutely breathtaking examples of good architecture art and an impressive use of medium versus building style have a look at the work of Malaysian artist Ch'ng Kiah Kiean.
5 Work out the perspective
Once you’ve decided on a subject, medium, style and view you’ll want to work out what perspective rules you’ll need to apply in order to draw it correctly. Of course it helps if you know a little about perspective.
You can have a look at my post One-point perspective: How it works and how to use it for your Art to get you started.
The easiest way to work out the perspective of a subject from your point of view is to make a quick thumbnail sketch (like the kind you did to work out the composition).
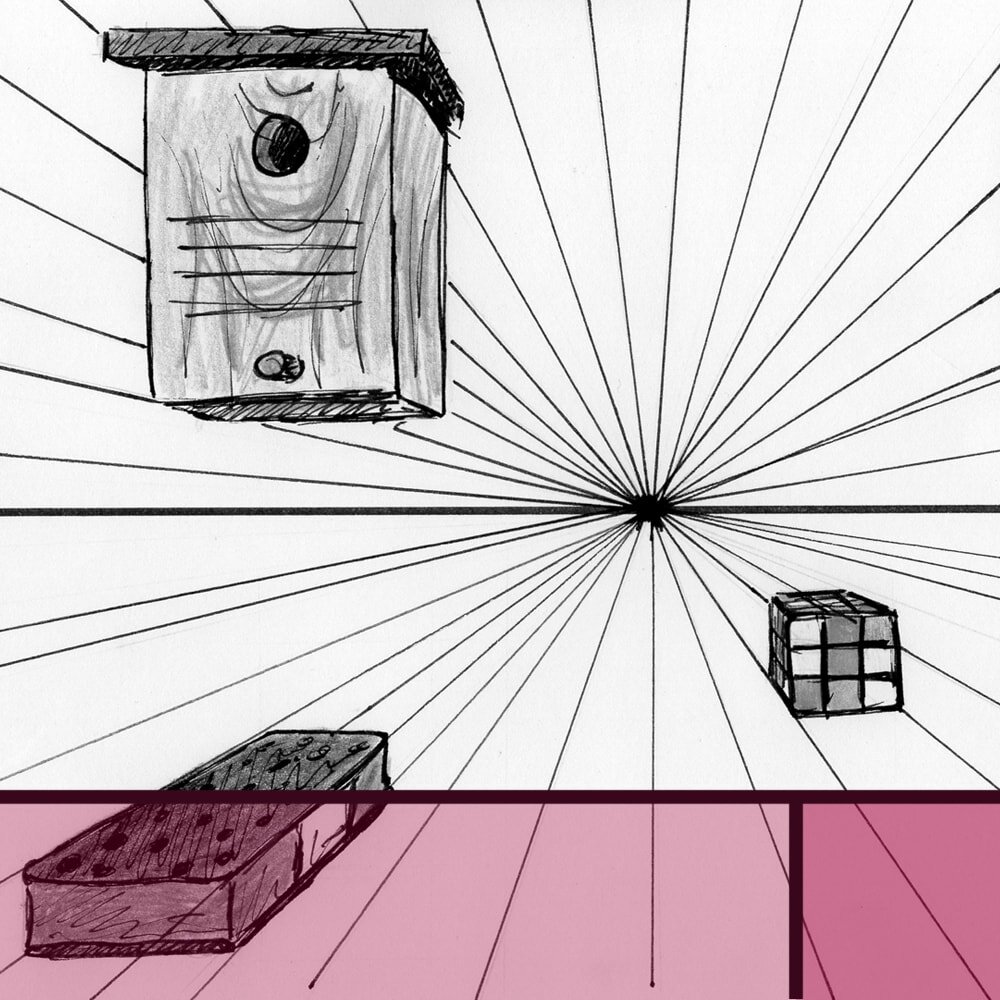
Just sketch your building very roughly and find where the horizon line is (or would be, if it’s not visible). Then look for convergence lines and vanishing points (more on that in the above mentioned article).
Are you dealing with one-point, two-point or multi-point perspective? Is there any atmospheric perspective? Are any parts of your subject overlapping other parts?
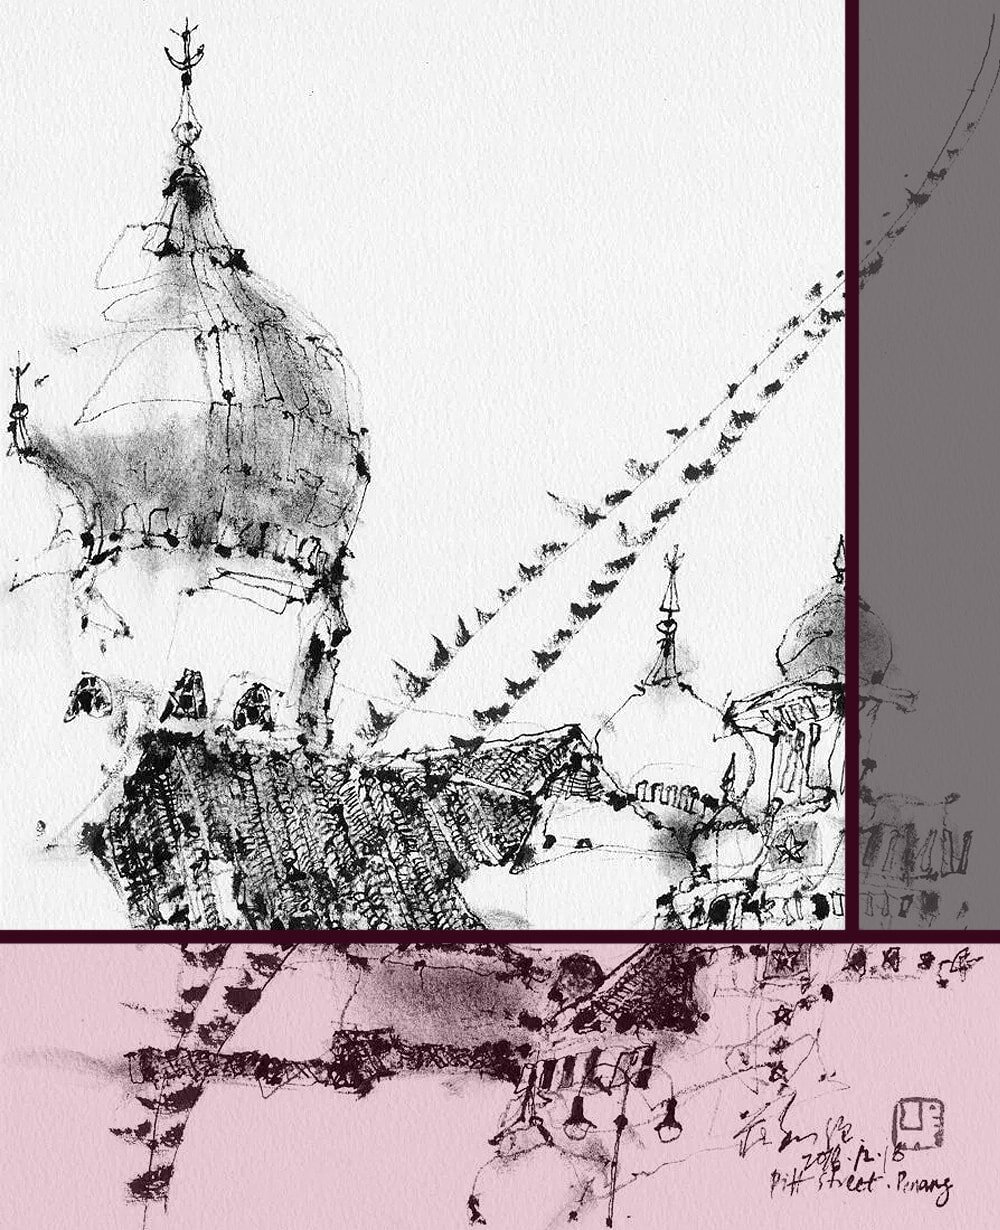
This tall building is practically made for a nice three-point perspective composition to emphasise its height, towering above the viewer.
The reason why I emphasise working out the perspective before you begin your drawing is that sometimes our eyes and brain make us believe we see something when in reality it’s not actually quite like that.
For example, we are prone to setting the horizon too high and having angles too steep. If you know where your vanishing points are you can use your pencil or brush to quickly measure an angle if you’re not sure.
You can also use your pencil to sight-size, to roughly measure the height or width of one element of your drawing and compare it to other parts to work out the proportions. E.g. the door might fit five times into the height of the house, making it easier for you to draw it.
Want to give it a go? Here are 5 great Exercises to learn Perspective Drawing the easy Way.
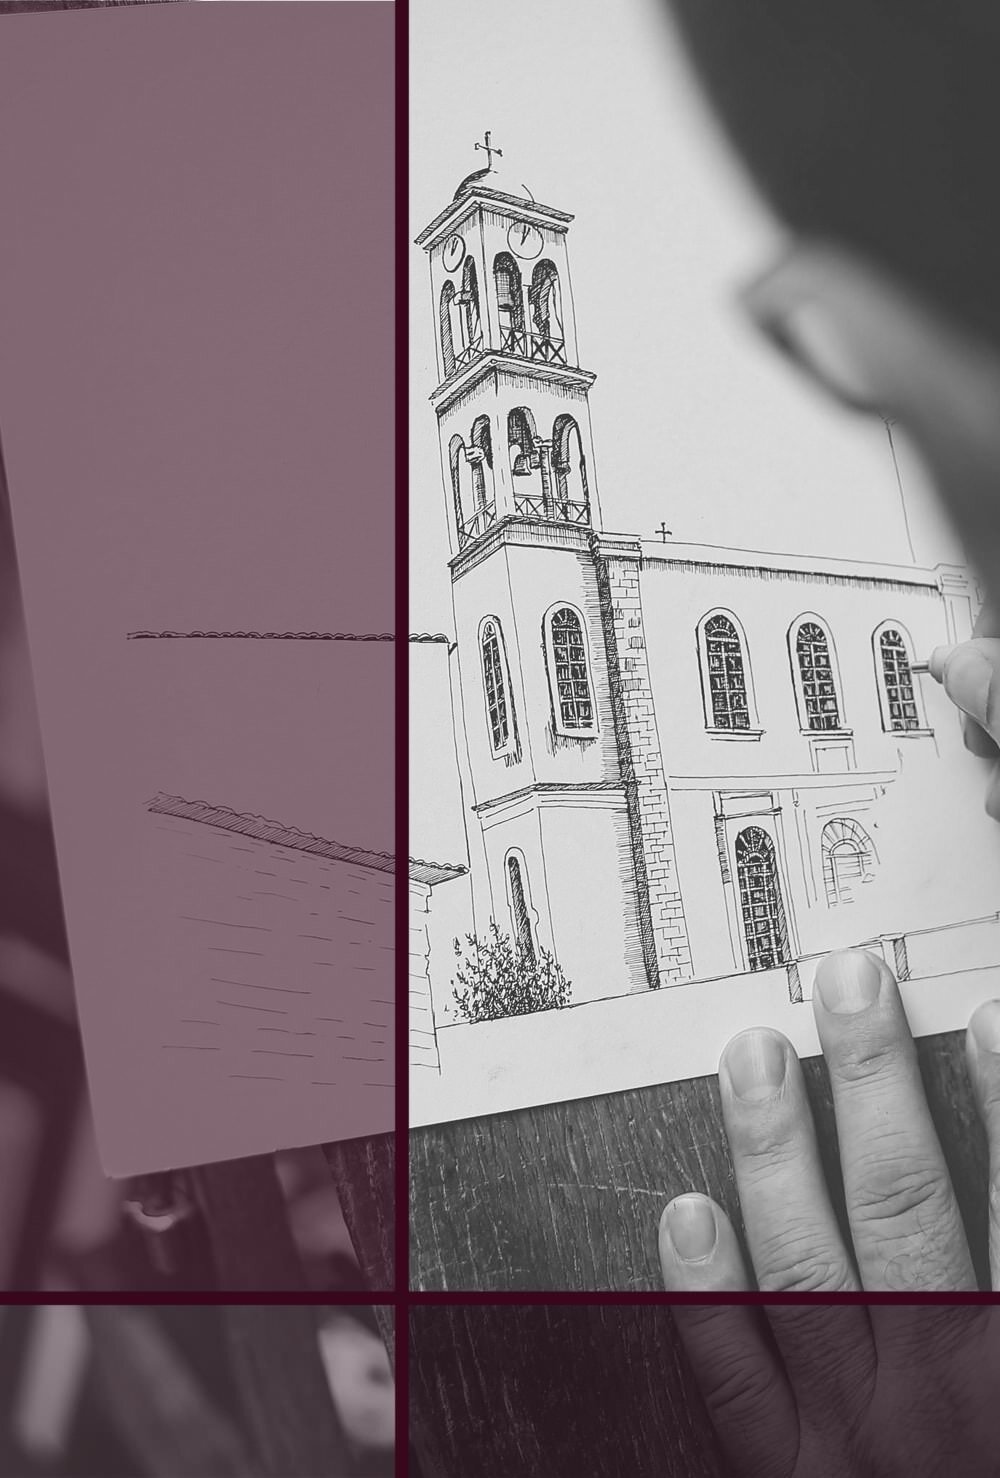
6 Draw the main structure
Once you’ve worked out points 1 to 5 (which might take a while or it might be a very fast process) you can begin with your final piece.
Good thing you’ve already done that thumbnail sketch and know roughly where your horizon and vanishing points (VPs) are located, because that’s what you’ll be drawing first.
Mind you, the VPs won’t always be on the page, depending on the kind of perspective used, but it’s still important to have a rough idea which direction they are and how far away.
Using very thin lines for your basic structure (underdrawing) means they won’t be noticeable in the final work or it’s easier to erase them.
When you’re done you can start adding in the main shapes of your subject, such as the rough outlines of a house or the direction the street is running. You can use your horizon line and VPs to work out the convergence lines that’ll act as guides to get the angles right.
7 Divide the big shapes into smaller shapes
This is where your sketch begins to take form, where things start to look like what you’re actually drawing.
When you’ve got your basic, big shapes down, correct them where needed, then divide them into smaller shapes. For example, for a standard house that’d mean adding in the roof, the position of the windows and doors.
You’ll also want to start indicating big-ish objects like trees, fences, cars or background shapes.
In it’s essence this sketch of medieval-style houses consists of triangles, rectangles and a few ovals for the bushes and trees.
Use the vanishing points as guides as long as you need them, they’ll help you confirm what you think you see and figure out how far your eye can be trusted. Of course you can also always use your pencil to measure angles (with an outstretched arm).
When you divide very complex subjects into smaller shapes, such as Greek temples with all those columns or Gothic cathedrals with their elaborate ceilings, add some rough detail as you go along.
That might be a person at the foot of a column or a stem of ivy curling around a small part of it. It’ll work as an anchor point and prevent you forgetting where in your subject these lines and shapes were and get all confused with the complexity of it.
Depending on your medium you can also start adding some paint to your work.
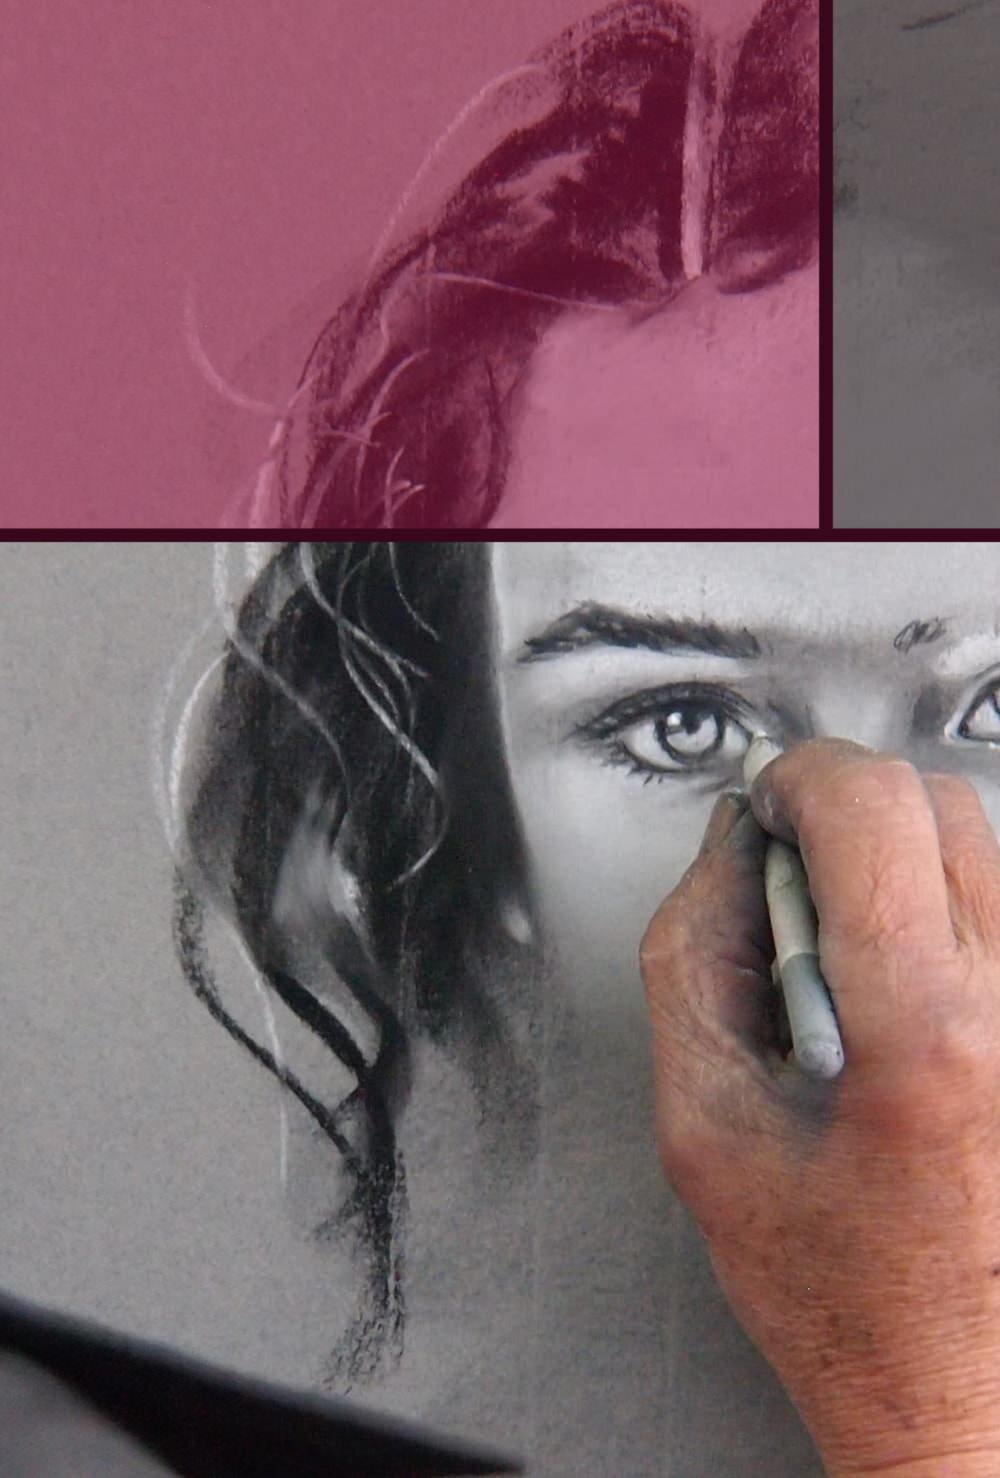
8 Add interest with detail
The last step, as always, is to make your work look all pretty. When the basic structure stands, you know where everything is and you’re sure the perspective is correct (or as correct as you want it to be) you can start adding in some detail to make the drawing or painting special.
Now is where you add in the shading and all those smaller shapes that will add interest to your work, such as window shutters, chimneys, door knockers, people, bushes, clouds.
In rougher sketches you can easily make some stylistic adaptions yourself, even if drawing from imagination isn’t your forte. You can move people around for example, or change the weather conditions (see section on composition).
This drawing of Durham Cathedral shows an interesting composition and choice of colour. Note how well the very rough paper works with the pencil to create a floor pattern.
You can add some texture, if you want, like brickwork, woodwork, leaves, reflections and so on.
And now is the time when you go all out with the paints, if you chose to use any. Many urban sketchers use waterproof pen for their basic drawings and then water colour on top of that later.
Have a look at my article How to create a Drawing or Painting in 9 simple Steps for more tips and tricks.
Whatever your style, your ideas and choices may be, architecture drawing can be a lot of fun, especially if you don’t take it too seriously and let yourself experiment and play around with it a little. There are a lot of fabulous subjects out there, just waiting for you to give them a go.
For more ideas have a read through my other architecture-related articles.


Did you enjoy this article or feel like you have anything else to add? Feel free to leave me a comment below!
If you like this post, please share it, so others may like it too!