5 easy Drawing Exercises for Beginners and Pros
Drawing really is a lot like sports. If you haven't been working out for a while, or are a complete beginner, you'll always better start slow, rather than jumping straight in and running a full marathon without any training.
Regular exercise is also crucial in any training regime, whether you're new to it, back for it or never left at all. And it's the same with drawing.
These exercises will help you stretch all your drawing muscles muscles (aka your observation, spatial recognition, creativity...) for a serious workout/drawing session and teach you the fundamentals you need to excel.
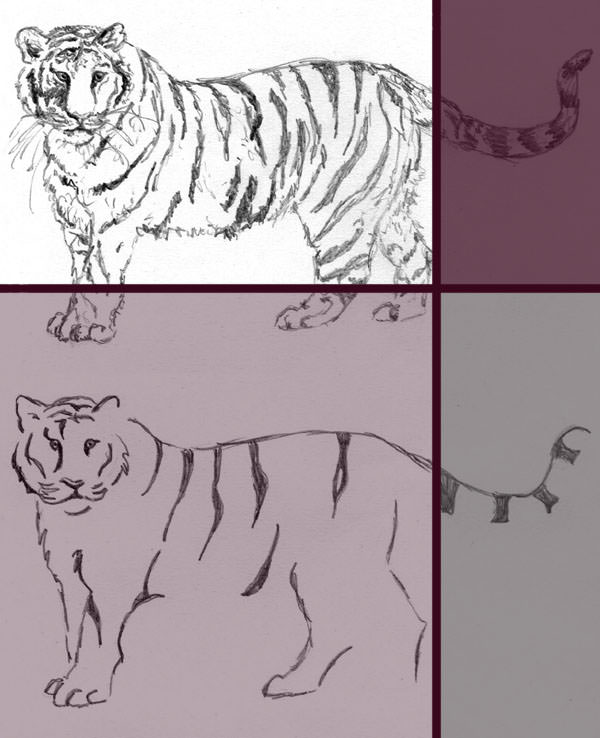
1 Many roads lead to Rome
Sometimes you're drawing something you've seen many, many times before and your mind just goes on autopilot. Which can be a good thing, unless the image in your head doesn't conform with what you actually see.
You may be theoretically aware that there are many different shapes of eyes, for example. Someone of Hawaiian heritage will likely have a different eye shape than a native Russian, a baby usually has rounder eyes than an adult and so on.
But the mind may have decided on one single idea of ‘eye’ and will keep trying to pull you in that direction, like a jamming steering wheel, away from what you're actually aiming for, or see right in front of you.
In order to counteract that pull we can re-calibrate the mind to see shapes instead of whatever it thinks an eye (or cat or tree) looks like. Basically, we're preventing it from answering before it's heard the entire question.
What we'll do in this little exercise is just to draw several different-looking versions of the same thing. If your brain keeps telling you what a flower looks like, remind yourself that there are orchids, daisies, tulips and lilies. You can cast the net as wide as you like, it'll depend on how much time you have to draw it all.
Over time your mind will decide that it's probably better to look at what you actually see, rather than having a quick glimpse and making the rest up.
2 Don't look now!
This is an easy but fun exercise I do frequently when I feel like I worry too much about what my finished sketches look like. You know, when you keep wondering if you could hang it on the wall, show it to your friends or put it in your portfolio before you've even filled half the page.
Well, worry no more, this exercise will remove that unnecessary pressure. All you need is a subject and your drawing materials, be it pencil, pen or ink.
Look at your subject and try to draw it, like you always do. But with one little twist: don't look at your paper. At all. Not even a single glimpse. You're drawing half-blind, if you will.
You can look at your subject, but what the outcome might be should remain a secret until you're finished.
If you find you have trouble not peaking, you can put your sketchbook on your knees and draw underneath the table instead. Or stick your pencil through the middle of a paper plate, so it distracts your view as the pencil moves.
A table with plants as part of a drawing exercise for beginners where you don’t look at the paper until you’re finished.
Of course, your sketch is going to look like a bad Picasso when you're done. And that's the point. If you know before you start that the finished piece is not going to be useful for exhibiting, you'll have a much easier time concentrating on the process of drawing itself.
If you do this regularly, you'll notice that your sketches are going to get better. Your bad Picasso will start to look more like a bad Matisse.
Because practising to draw ‘blind’ trains proportion and spatial recognition. Which in turn makes things easier for you once you go back to looking at the paper while you work.
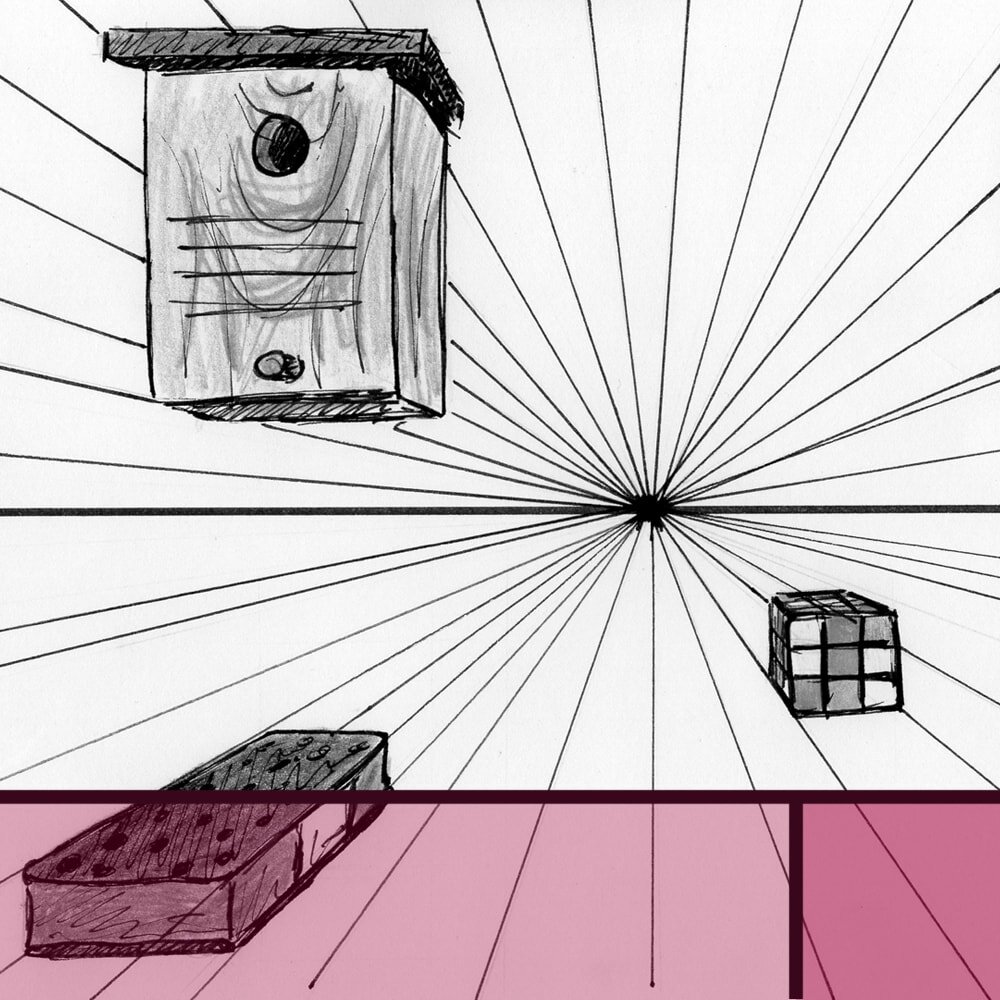
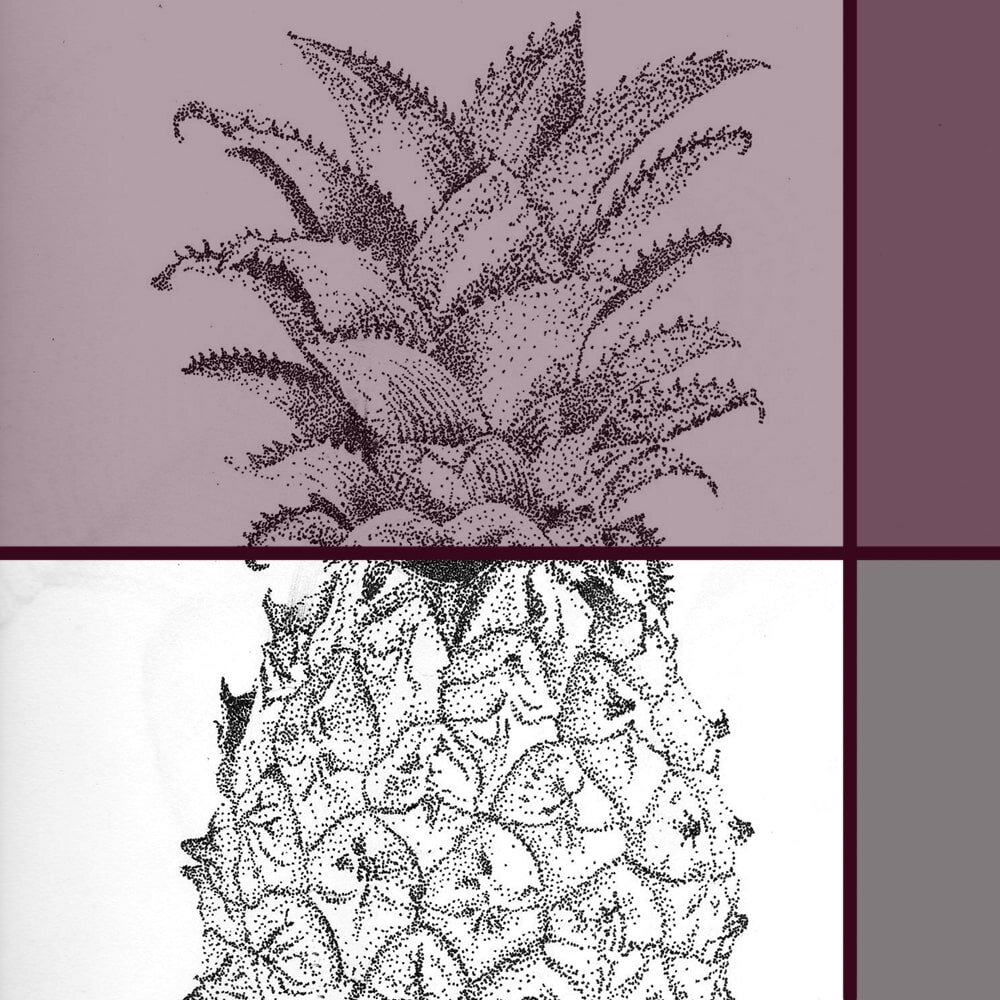
3 Change of perspective
Perspective drawing can be quite intimidating, even when you have a simple subject to work with. Drawing without a reference is yet another step up from that and needs a good grasp on the principles as well as an extensive visual library.
With this exercise we're going to practice both, so that we can slowly work our way towards the ultimate goal of drawing whatever we have in our heads and having it look as realistic as possible.
Pick an object you want to work with. I suggest something simple, like a mug or your toothbrush. Now imagine how you would draw that object if you were to make a quick sketch of it. What perspective would you choose? Most often that's going to be a simple side view.
But not today. Instead of the easy way we're going to step up our game and pick a more difficult perspective.
Move your object in your hands or walk around it to find a perspective that you usually don't see it in, or don't notice much when you do. Anything that looks tricky to draw is what you're going to pick, because you can handle that.
Now draw a simple sketch, nothing too detailed. Then change the perspective or move on to the next.
Practising this helps to understand the object better and it's a great thing to have in your visual library, because such ‘odd’ perspectives can be used in the future, to make a drawing more interesting.
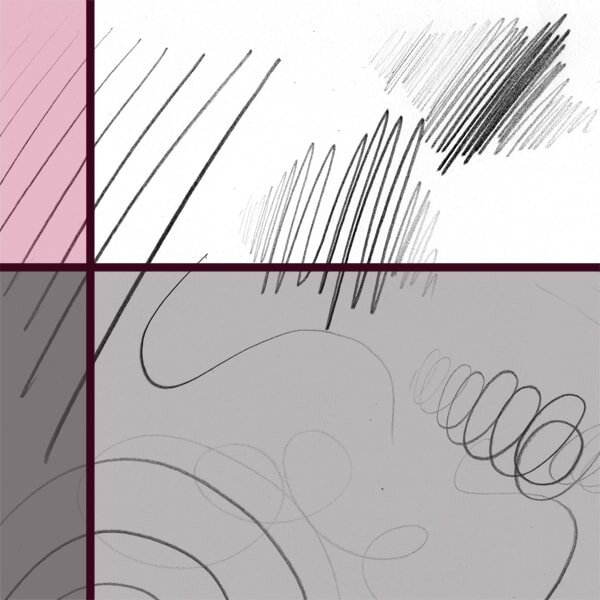
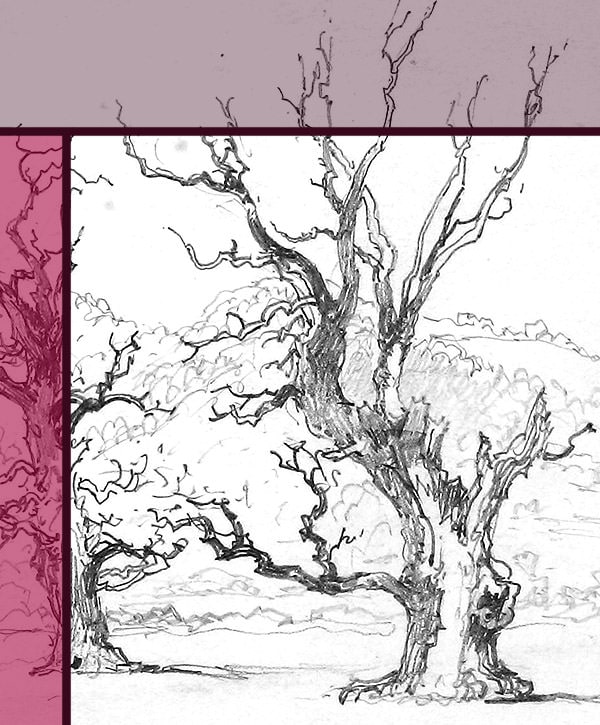
4 One liner
This one is another classic, and for a reason. It's fun, it's quick and it's impossible to mess up. Your finished drawing will almost always look super skilful, so it's great for giving yourself a little confidence boost when you need it.
One-line-drawings have been around for forever and they're simple enough to do. All you need to remember is that once your pencil touches the paper you cannot lift it until the piece is finished. The entire drawing is one single line, every part of it is connected.
Tracing the entire subject with your pencil and moving it from one area to the next is a perfect way for your brain to learn distances and relationships between parts of the image.
It also forces you to draw quicker than you might usually do, because no one wants to hold their pencil for a half-hour straight without once lifting it off the paper.
This technique works well for a variety of subjects. It can also be fun to play around a little with the style. Try to vary pencil pressure, for example, or go for harder corners rather than a rounded look.
This is another great practice to learn how to distinguish between what is fundamental to the image and what can be left out. Especially with shadows it takes a while to understand which need to be hinted at for necessary depth.
5 Fire and water
Personal drawing style is like handwriting. It’s made up of the same parts, but the way these parts display is unique to the individual.
Whether your preferred genre is photorealism or caricature, the way you draw defines who you are (or want to be) as an artist, and it can make your work recognisable amongst other art.
But there's one difficulty. Unlike handwriting your drawings need not only portray your own style, they also have to depict the ‘feeling’ of the subject.
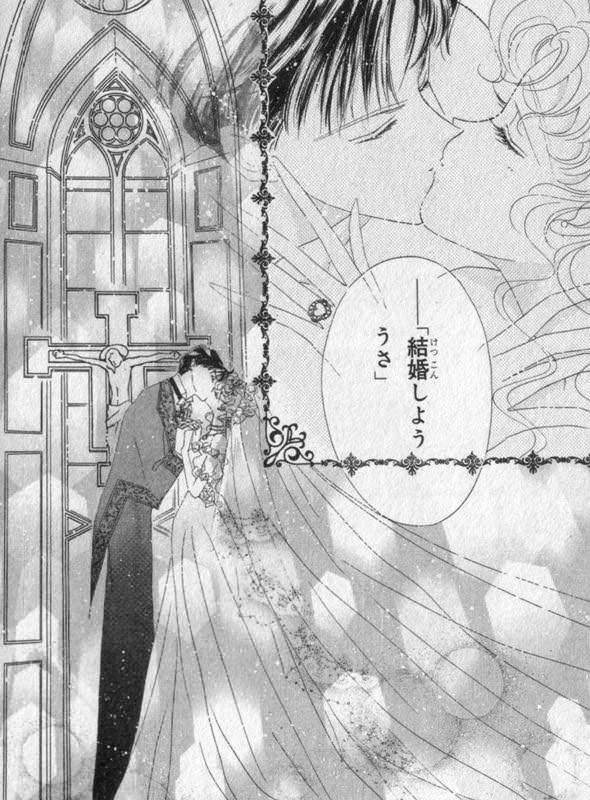
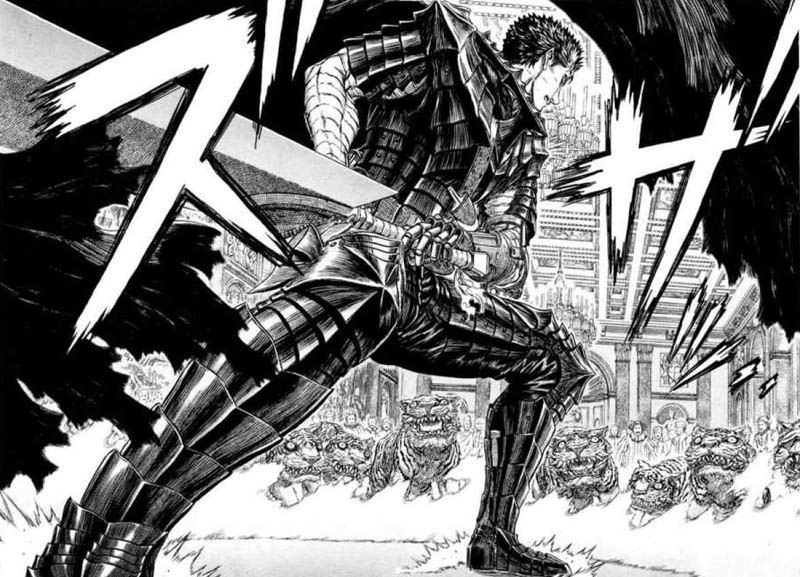
As an example, look at these two scenes, both from popular mangas. You'll notice that not only are the artists’ styles very different, they also show two very contrasting scenes that ought to portray contrasting moods: ‘love’ and ‘battle’.
The first is all soft and dream-like, while the second is harsh, fast and has a much darker shading. Do you think it would work if the two subjects were switched? It'd make for a very creepy wedding, that's for sure.
But how do you manage to combine personal style and mood without sacrificing one in favour of the other? Well, it’s a step by step process that will develop with you as you grow as an artist.
And step one is to find out what your personal style is in the first place. There’s no better way for that than to try out different things and see what comes most natural.
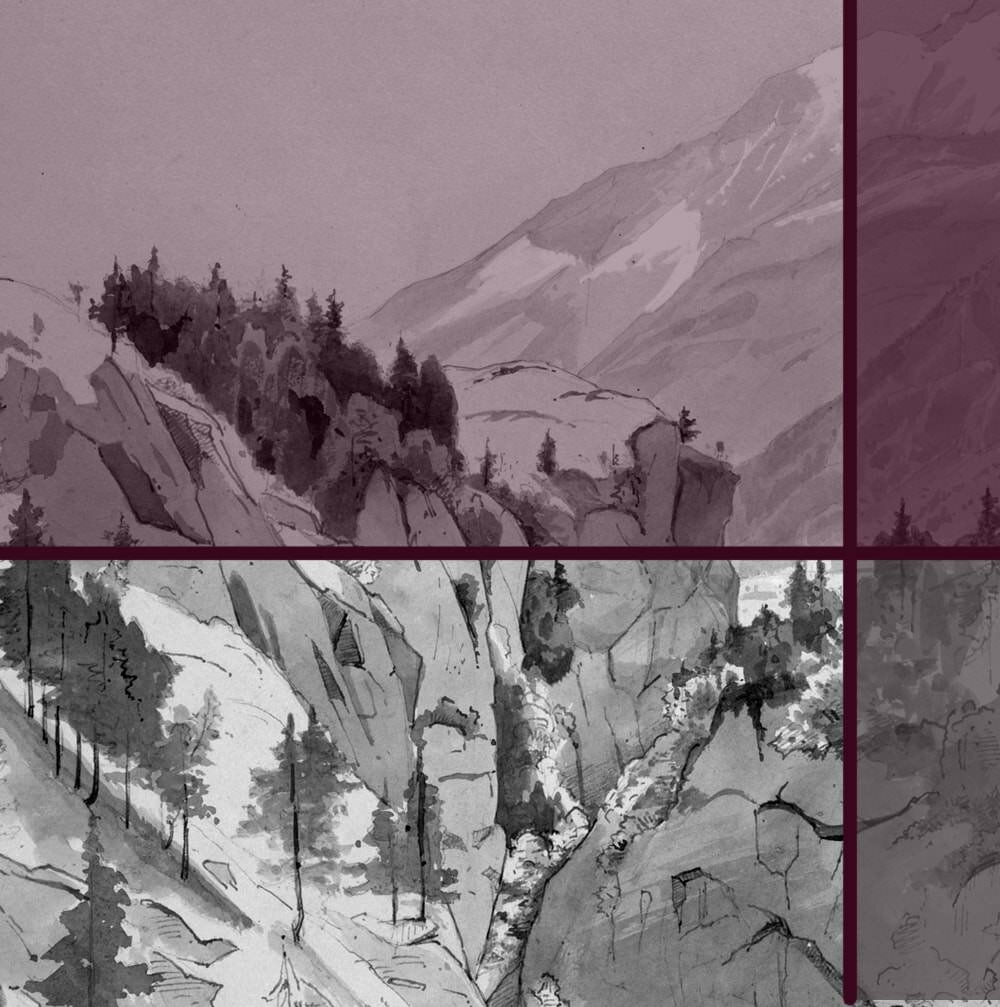
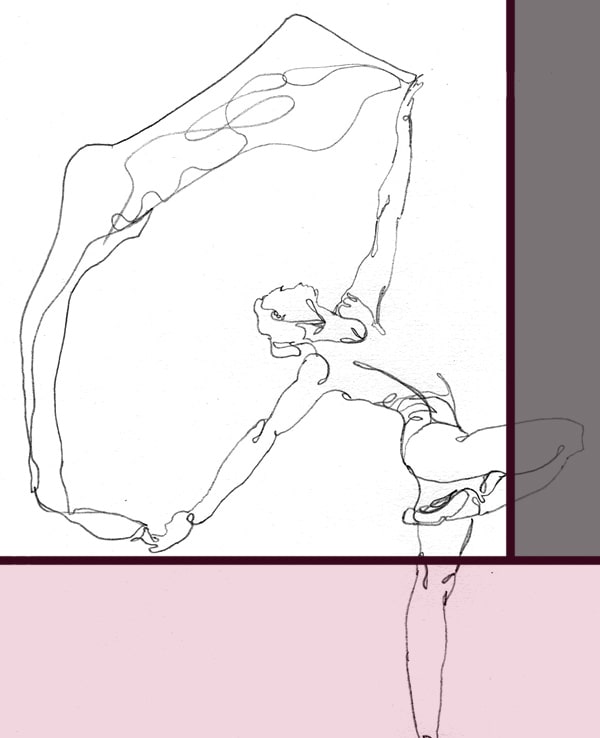
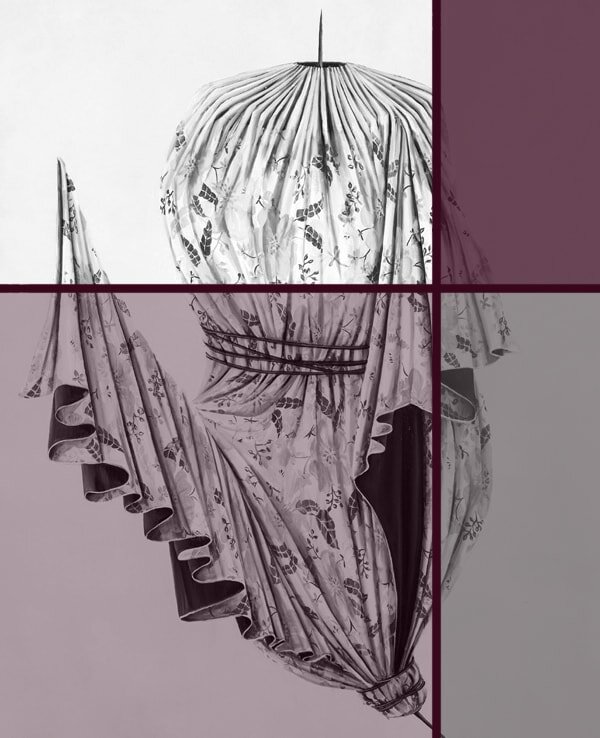
For this exercise you're going to draw the same subject in the two contrasting styles, ‘water’ and ‘fire’. Choose any subject you like, a fruit bowl, your car, your spouse.
For the first style, try to simulate the ‘personality’ of water. Draw fluently, with soft, flowing, ornamental lines. Aim for something comfortable, relaxing, playful. You may find it helpful to hold your pencil (or brush) relatively far towards the back, so you have less control over it.
For the second sketch, think of fire. Go bold, edgy, harsh. Don't draw fire itself, draw what it feels like. Threatening, powerful, dangerous.
If you're having difficulty switching between styles, consider some matching music (Chopin versus Heavy Metal, for example...) or just leave more time between sketches.
Repeat this exercise regularly with different subjects. You can also try out other ‘moods’, of course. Adjectives, such as chaotic, scared or shy, are easiest to portray on paper, but almost any word that comes with a certain mood/personality will work (winter, butterfly, playground…).
If you consistently notice that soft, floaty lines don't come easy to you or your harsh, dark lines keep reverting to ornaments it'll give you a valuable clue as to which direction might be right for you going forward.
Of course this is just one exercise in the journey to find your own style in the arts. But once you get closer to knowing who you are as an artist it’ll become a lot easier to portray any feeling you like in your work but still staying recognisably true to yourself.
Have a look at my exercise collection for more fun ideas to practice with.


Did you enjoy this article or feel like you have anything else to add? Feel free to leave me a comment below!
If you like this post, please share it, so others may like it too!