
8 simple Tricks to take great Photos of your Artwork
Do you want to find out why photographs of your drawings always look a bit ‘washed out’? How can you avoid shadows? What do you do about reflections?
There's more to taking good pictures of your artwork for Instagram, Pinterest or even your portfolio than simply pushing a button on your phone. But no worries, I've got you covered.
Here are some of the tips and tricks that I use to take photos of my own drawings and paintings, for a home-setup of course, since not everyone has access to a professional photo studio (nor do you need that).
However, keep in mind that even with skill and experience there are limitations to what you can achieve with any photo camera. If your goal is to have the very highest quality images of your art with no shadows and perfectly crisp, it’s best to buy a good scanner instead.
1 Use the right kind of lighting
Let’s jump right in and deal with the main issue we face when taking photographs of any kind in a home-setup.
I've tried various options and find that natural daylight gives me the best quality pictures. If there is no daylight available (Scotland in winter, anyone?) any electrical source will do the trick, though you might need a little more time editing the photos later.
If you do go for daylight, make sure it's an overcast day, not full sun. The reason for that is that a layer of clouds will act as a giant diffuser to the sunlight, so they make shadows appear softer and not as prominent on your photographs.
When I'm at home on the weekend I tend to just have the drawings I want to photograph ready and laid out so I can jump up and take some pictures in those lucky five minutes of the day where the conditions are ideal.
If you use a standard household lamp, the colour of your drawing might be a bit off, especially if it's not just graphite or charcoal. Which is fine, you can change that in Photoshop, though it's of course always best to avoid too much need for editing.
If you can wait a day or two until you've got a moment of proper daylight, that'd always be the preferred option.
2 Deal with shadows and glares
As explained above, daylight is always the preferred kind of lighting. The ideal setup would be to have the artwork lie flat, outside, on an overcast day at noon (when the sun is overhead).
Of course, that's not an option for everyone. If you live in the city with no garden and maybe a handful of days a year where it's not chucking it down or wizard-of-oz windy, taking pictures outside just isn’t practical.
Instead, you can use a nice big window. Ideally, you'll want a north-facing one (to avoid hard shadows), but again, not everyone has that option. Just go with whatever window you have available and perhaps test it out at different times of day to see when the conditions are best.
In either setting you'll want to position yourself in a way that you face the drawing head-on (or use a stand, as explained below) but you are not right between the sun and the artwork, thus casting a shadow.
This can take a little bit of trial and error to work it out sometimes as you often only notice that you were indeed casting a shadow when you edit the pictures afterwards. It helps if you move back and forth a little before taking the picture to see if you notice any faint shadows on your drawing as you do.
You'll also want to make sure that the area surrounding your artwork is as ‘white’ as possible. This ensures that stray light bounces back from all sides, thus illuminating your artwork more and filling in some harsher shadows.
If your window frame and/or walls are dark, you could ask someone to hold up a white piece of cardboard or a bed sheet, to bounce some of that stray light onto your art.
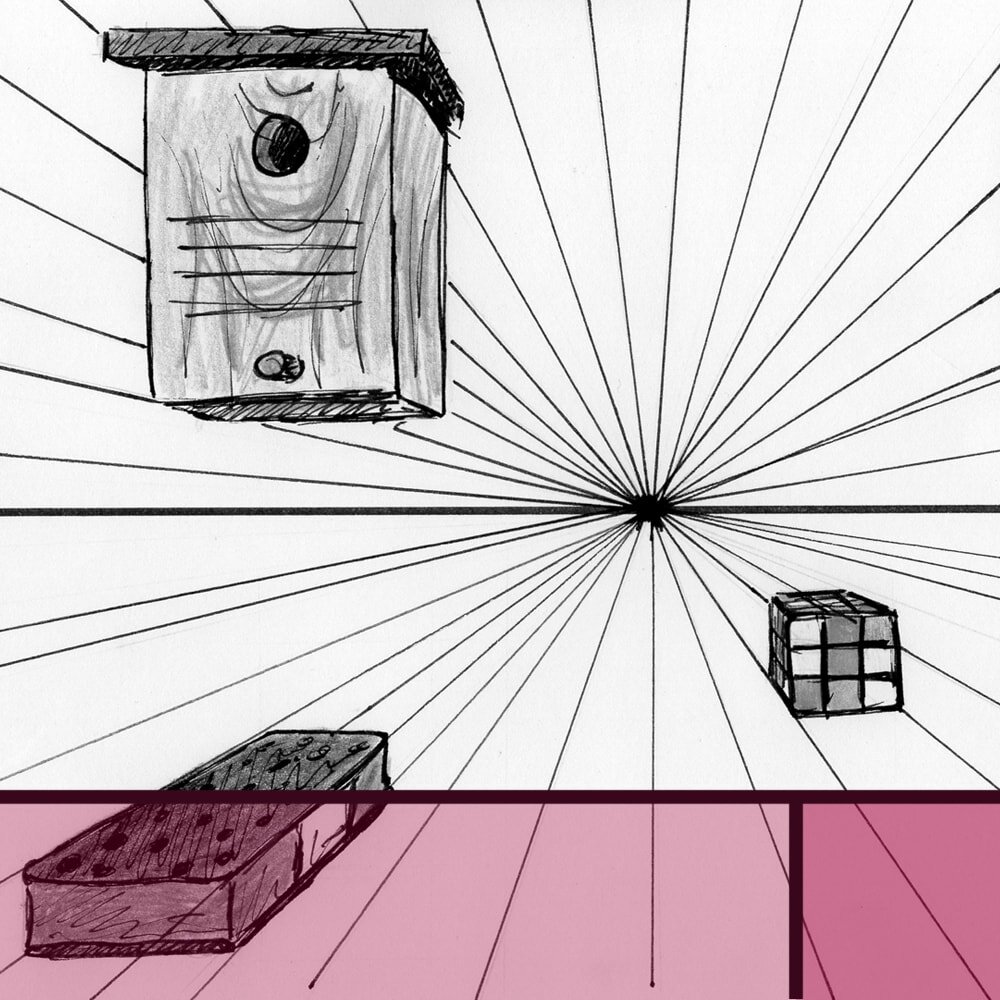
As for artificial light, there's a simple triangle-style setup that you’ll often see in photo studios that’s really quite useful for reducing shadows. I find that it's really the only way I can get decent pictures done when there's just not enough daylight out and I don't have time to wait until there is.

Two-lamp setup to take photographs of your artwork at home.
Amazon sells cheap table top lamps for this. I bought a pair myself and tried it out and found that it worked just fine. Once I had worked out the right height and position the resulting photos were relatively free of shadows and almost as good as with actual daylight.
This setup comes in especially handy when you’re taking pictures of slightly glossy artwork, such as acrylic or oil paintings, as then it’s even more important to avoid uneven lighting and glares.
If you do try this at home make sure there's no other light source around interfering and casting unexpected shadows (faint daylight, other lamps etc). Overall this is a perfectly adequate solution for those rainy winter days.
With all this being said, while it's always good to try and avoid shadows as much as (reasonably) possible, don't overthink it either. Some shadows are going to be there. There is literally nothing you can do, no setting or weather condition that will give you a photograph entirely without.
Some shadows can make a photograph more interesting even. Sometimes, when the light is just not right, it can be fun to embrace shadows instead, play around with them and use them as a style element.
3 Avoid blurriness
Even with a really good phone it can be difficult to take sharp photographs of your artwork, especially in low light.
While you tend to get away with a bit of blurriness for a photo of the pretty hills you're hiking through you absolutely want your drawings to be as sharp as possible.
The easiest way to help with this is to use a stand, of course. Any cheap kind of tripod from Amazon will do the trick.
Another option that I often use myself is to lean your body against something, such as the wall or window frame while taking the picture.
It will give you more stability and ensure you're not swaying like a leaf in the wind, so to speak. Which, trust me, all of us do very slightly, even if it's almost unnoticeable. It also helps to hold your breath the moment you take the picture.
With these precautions, once you’re all done with your photo session, you can just run a quick sharpening filter in Photoshop (or any other editing software) for that extra bit of crispness.
4 Plan for distortion
When you try to take pictures of something flat with straight edges, you'll inevitably notice that sometimes these edges aren't quite as straight in the photograph.
Every camera lens has a certain degree of distortion, most noticeable towards the edges, where flat surfaces may show slightly bent. But as long as you know it's going to happen you can work around it.
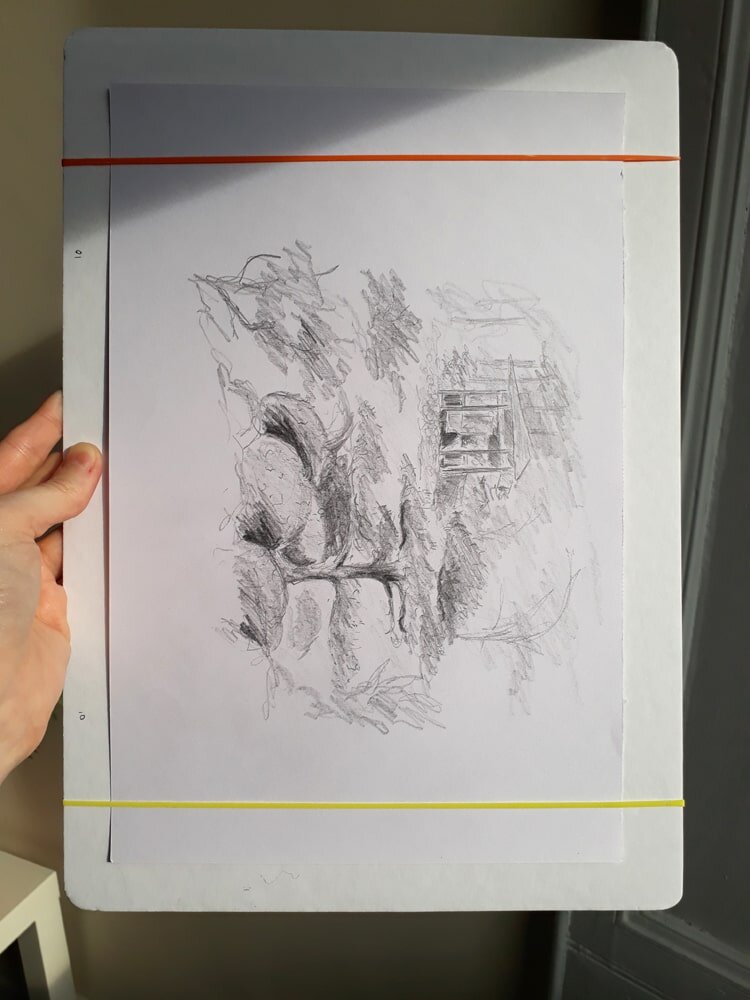
Old photograph of one of my paintings, before I knew about lens distortion. Note the curved edges at the op corners.
If you're planning to take a straight on photograph of just your drawing, move the camera a bit further back, so you've got an inch or so at the edges, then simply crop that out later.
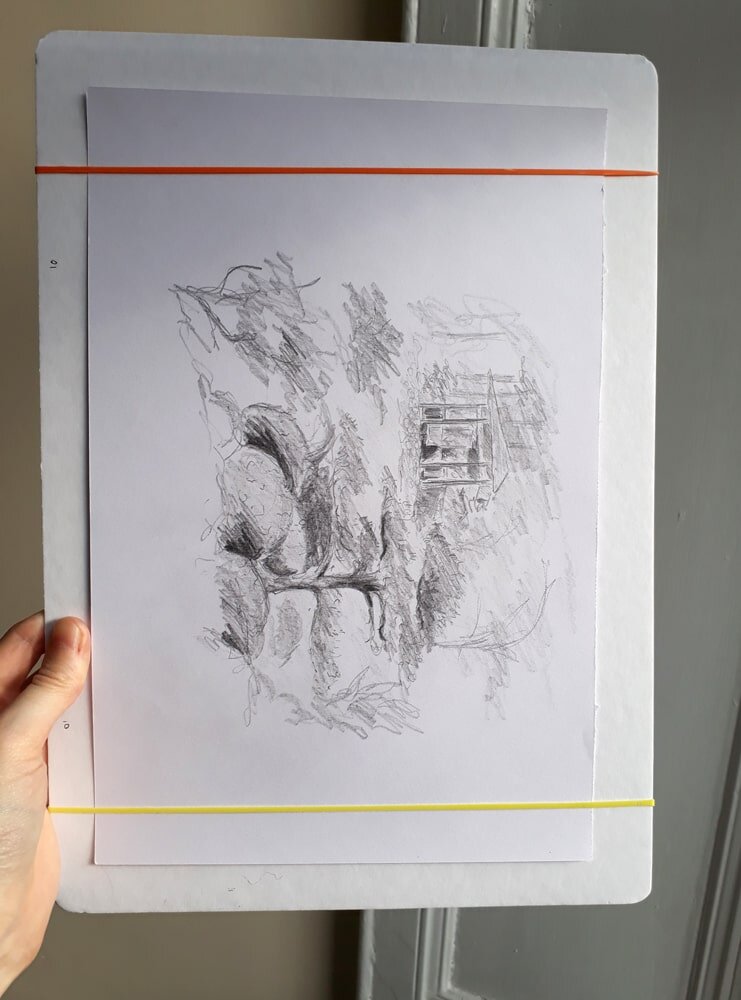
Also make sure that your camera is actually parallel to your artwork. Especially with mobile phones it's very easy to have the angle off by a few degrees.
Below is an example of that, where the phone we took the pictures with was at a slightly wrong angle for the second one. You can clearly see how it changes the proportions in the image and makes the upper body appear way too big.


This can look really odd when it's not clear what angle the camera was at when the picture was taken. I often find it helps if you just take a couple of pictures from very slightly different angles, so you're sure to have one that's exactly right and does not distort the original.
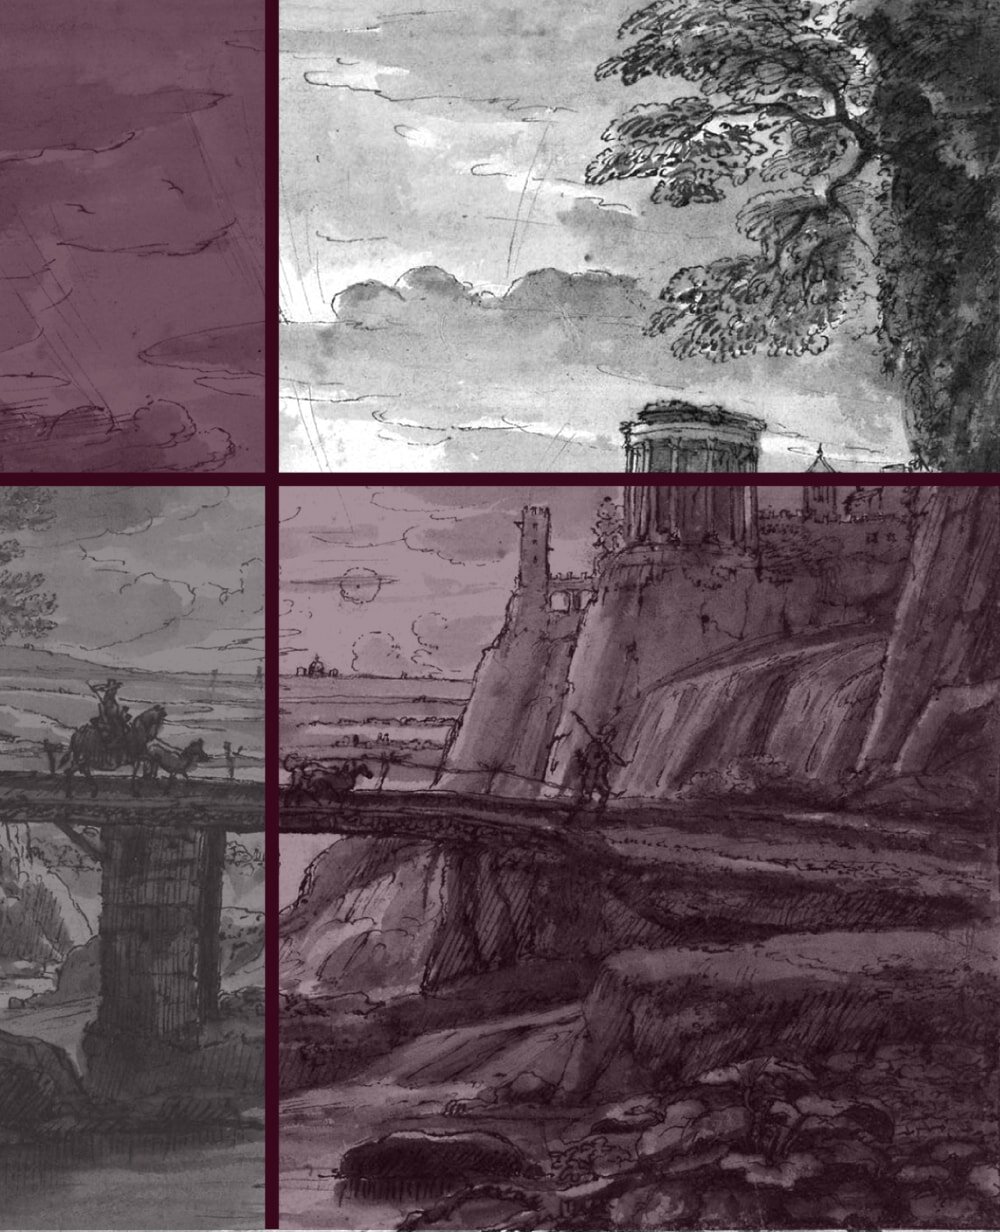
On the other hand, if the composition shows more of the drawing's surroundings (see point 8 below), the viewer's brain expects the distortions to be off, so it's usually not a problem in that case.
5 Handle artwork that isn't flat
Sometimes you just "accidentally" manage to create a really good piece on some cheap practice paper that rolls like scared a hedgehog with the tiniest bit of humidity.
Or perhaps you like case-bound sketchbooks that just never seem to stay open on one page. Either way, getting your work to stay put for a photograph might be a bit of a challenge.
My personal favourite option for rolling paper (humidity in Scotland, y'all) is to simply strap it to a piece of cardboard with some elastics bands.


Sketchbooks stay open easily if you use bulldog clips. They won't hold the pages completely flat, but they'll usually give you enough stability to take reasonable pictures.
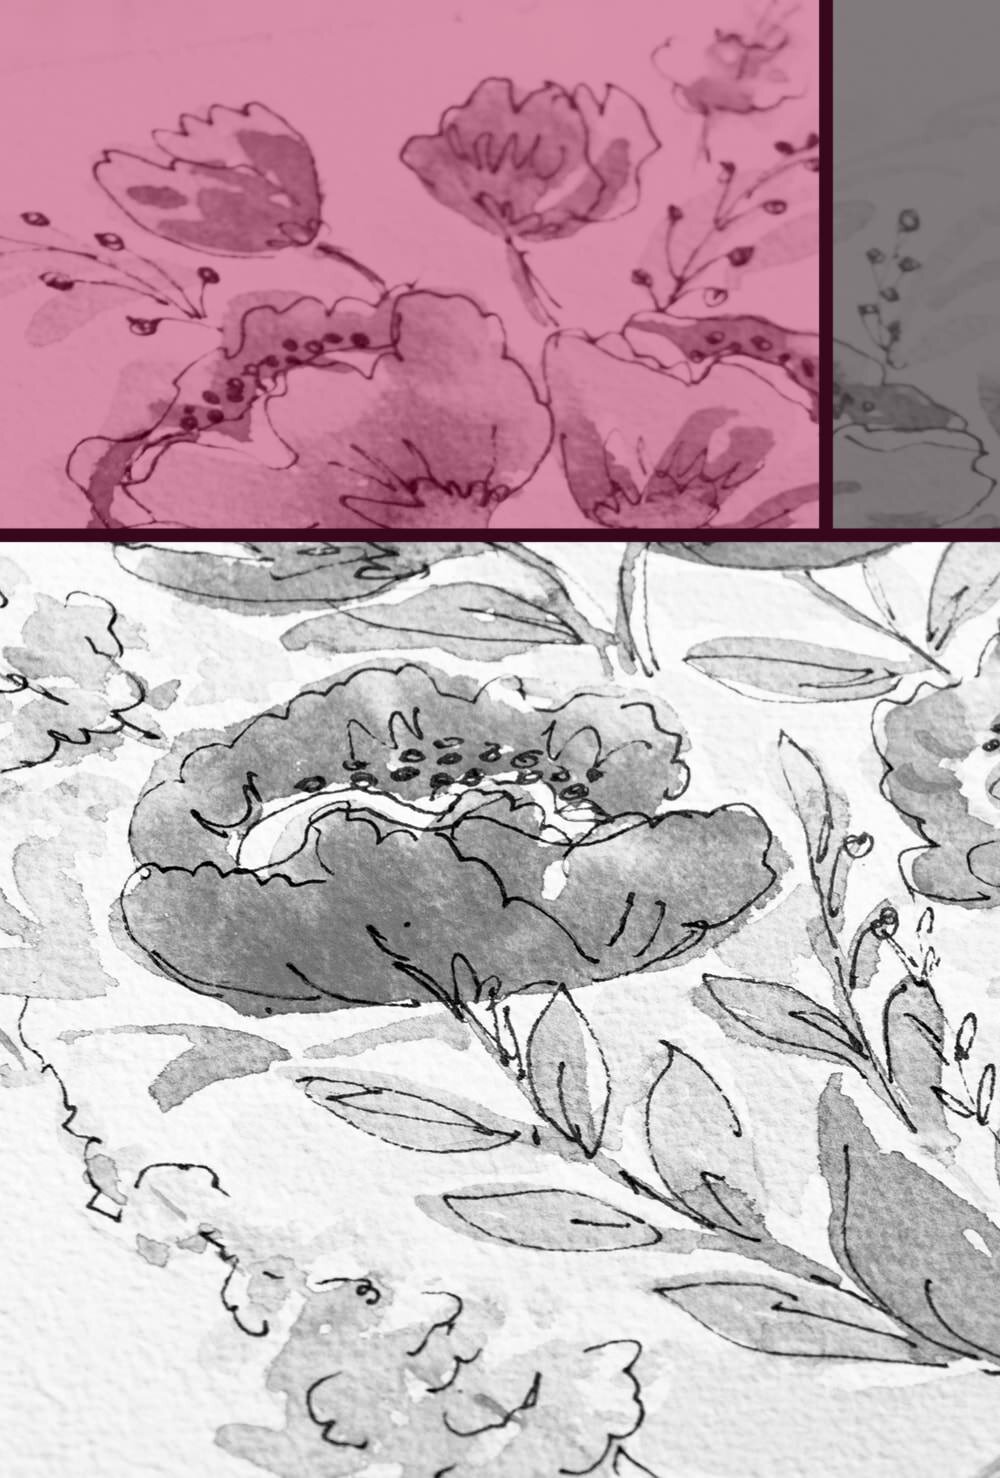
6 Artwork with surface texture
Any kind of painting with a slight 3D surface texture might need some special considerations if it is to look good on a photograph.
Obviously you'll need to light your painting well, to avoid shadows and glares from the often glossy paint. But you'll also want to make sure the work doesn't look too ‘flat’ in the end.
You don't want lose all of the brush strokes and elevations that make up half the charm of any such painting.
The magic word here is raking light, which is basically a light source coming slightly from the side, so illuminating one side of the brush strokes and making the piece seem more three-dimensional in the photograph.
This is done by simply lighting the artwork unevenly, i.e. having a stronger light from one side. Outside or at a window you can turn your painting and adapt the angles, to see which direction works best or wait until a bit later in the day when the sun is lower in the sky.
Inside you'd use the above described two-lamp setup, but either have one of the lamps slightly closer to the painting or allow some additional light from one side, such as another lamp or the window.
It can be a bit of a trial and error thing to find the perfect setup for this, as it very much depends on the direction of brush strokes or general surface structure and the kind of paint you've been using. But it usually only takes a couple of minutes to find the setup that makes that particular piece look its best.
7 Retouch
Even with the fanciest setup and all care taken throughout the process you really do need some kind of program to edit your photos if you hope for something that looks professional.
The best option is of course always Photoshop, but if you don’t want to spend the money on it (£20 a month for the subscription is honestly extortionate) or take the time to learn the admittedly quite complex program in the first place, there are a couple of very decent free alternatives.
I go into more detail on this in my article on how to edit photos of your artwork the easy way, but here are the basics:
crop the photo
adjust the contrast
adjust the colour
remove impurities
run a quick sharpening filter
reduce image dimensions and file size
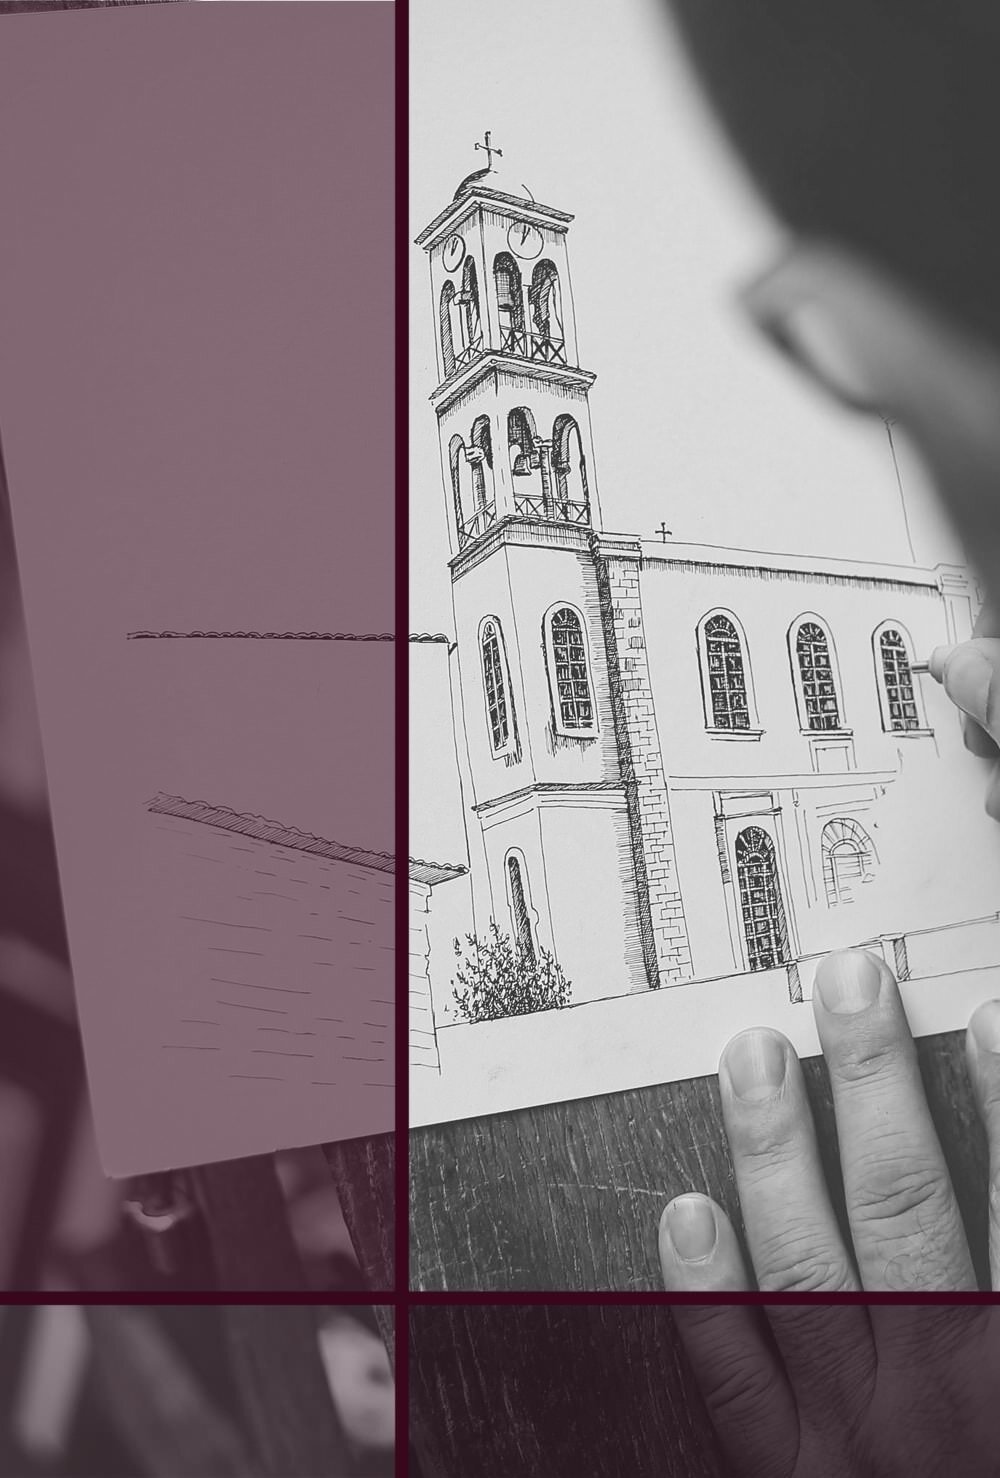
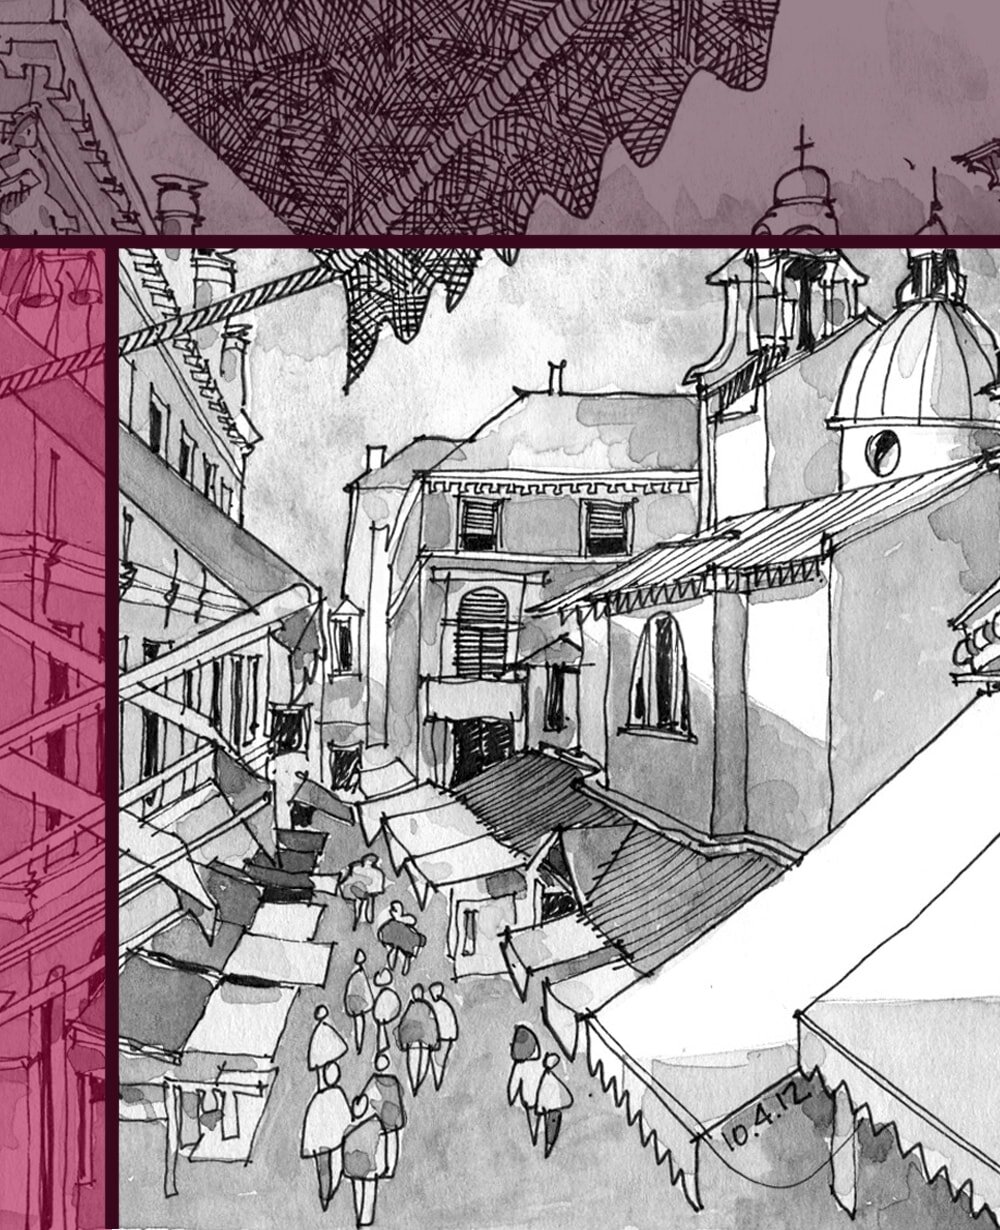
8 Think about composition
Last but not least, let’s consider the main reason why a photograph of your artwork may be preferable in some situations (e.g. quite often for social media) to simply using a high-quality scanner.
Of course, you can just take a standard, straight-on photo of your piece. But you could also make use of the possibilities of being able to arrange your work in a 3D setting. You can change angles, use props, tell the story of the artwork, rather than just showing the picture itself.
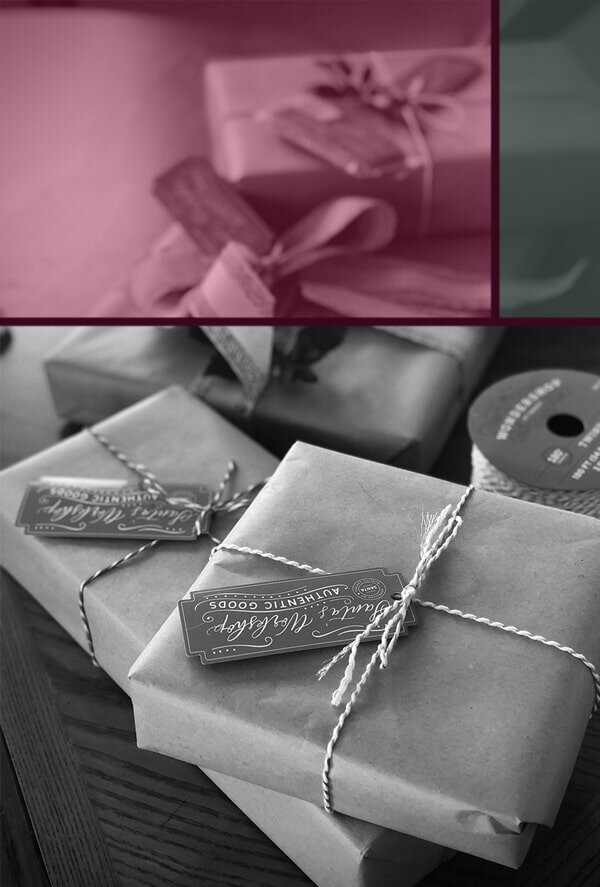
A style you can’t go wrong with is taking pictures of your drawing or painting with your art materials on or next to it.


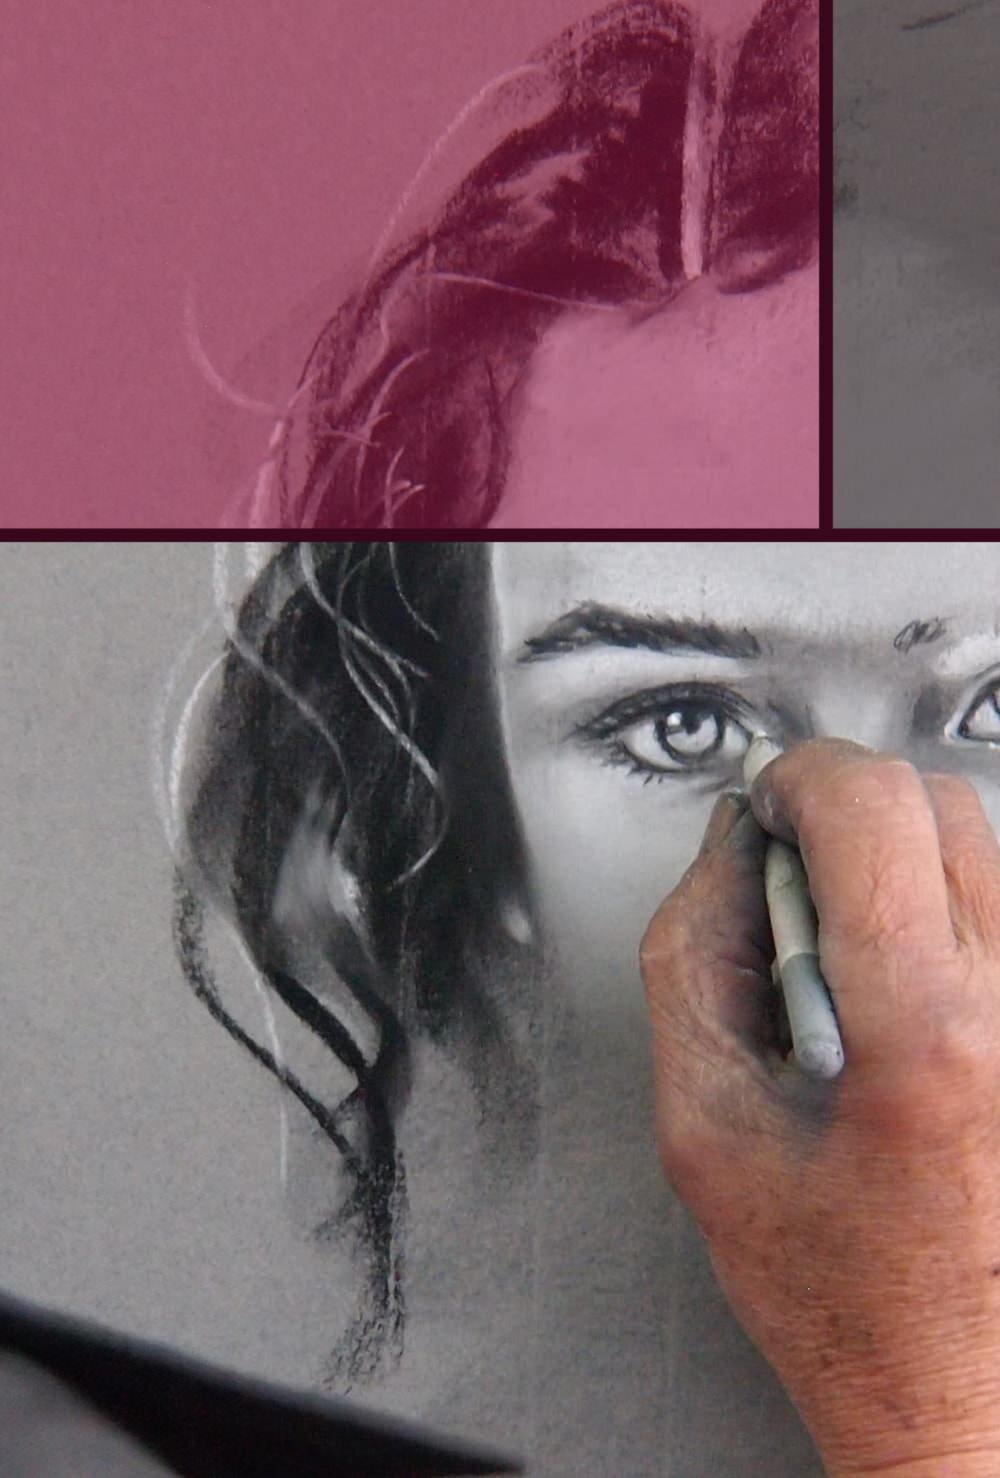
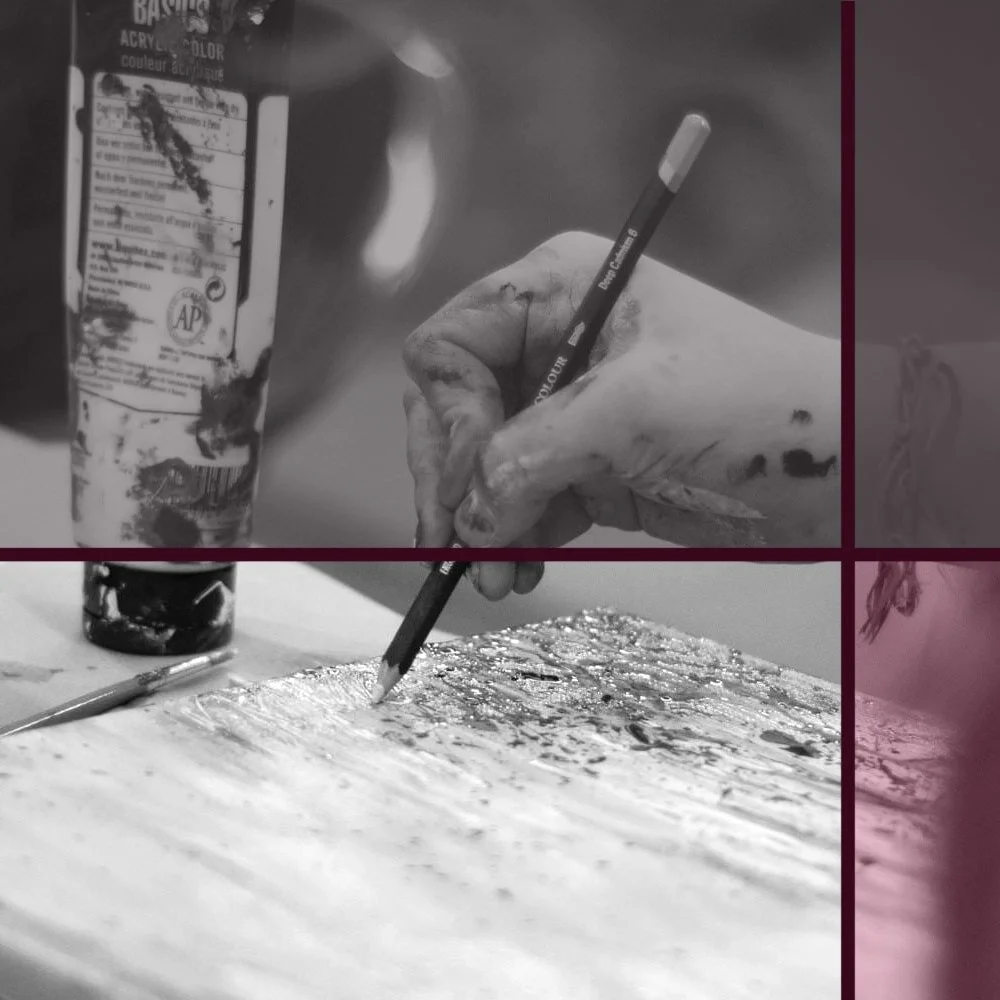
Another option is to have someone else take a picture (or use the timer function), so you yourself are in it. Showing you actually working on your art draws the attention to not only the drawing or painting but also to its maker, hopefully persuading the viewer to check out your other work, too.
Naturally this doesn't need to involve all of you, just showing your hands or you from behind is already enough to intrigue the viewer and remind them that behind every good work of art is the person whose skill and dedication created it.


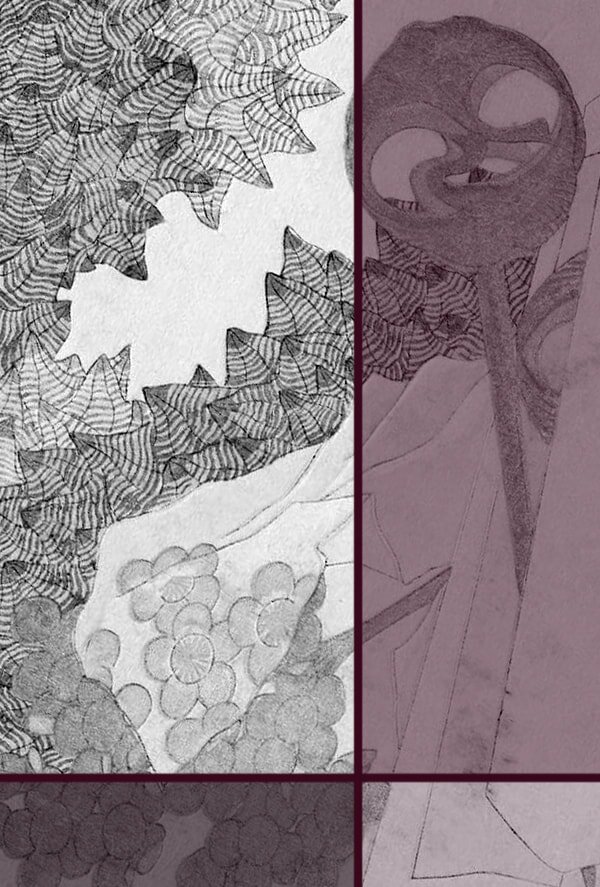
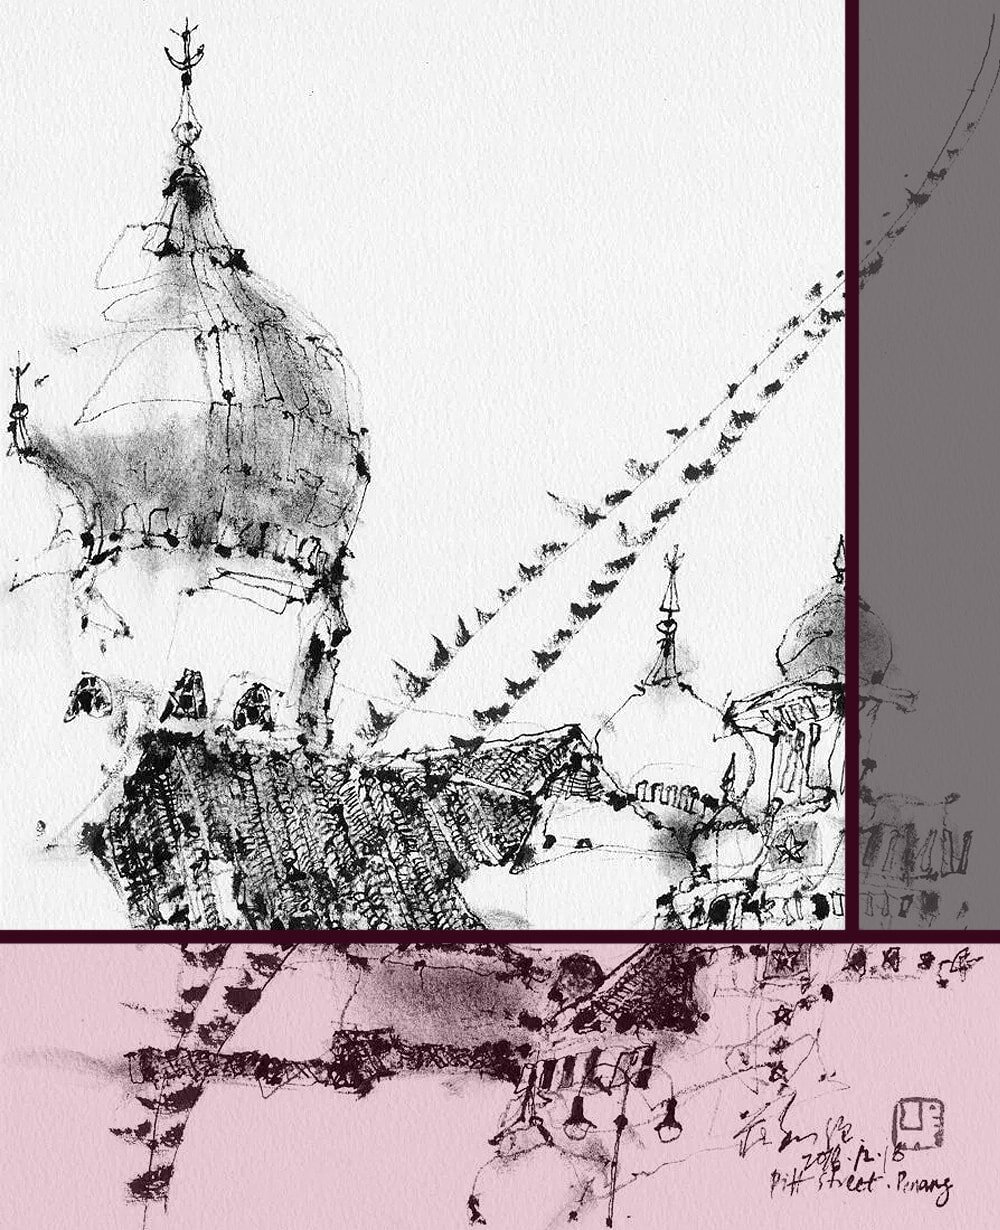
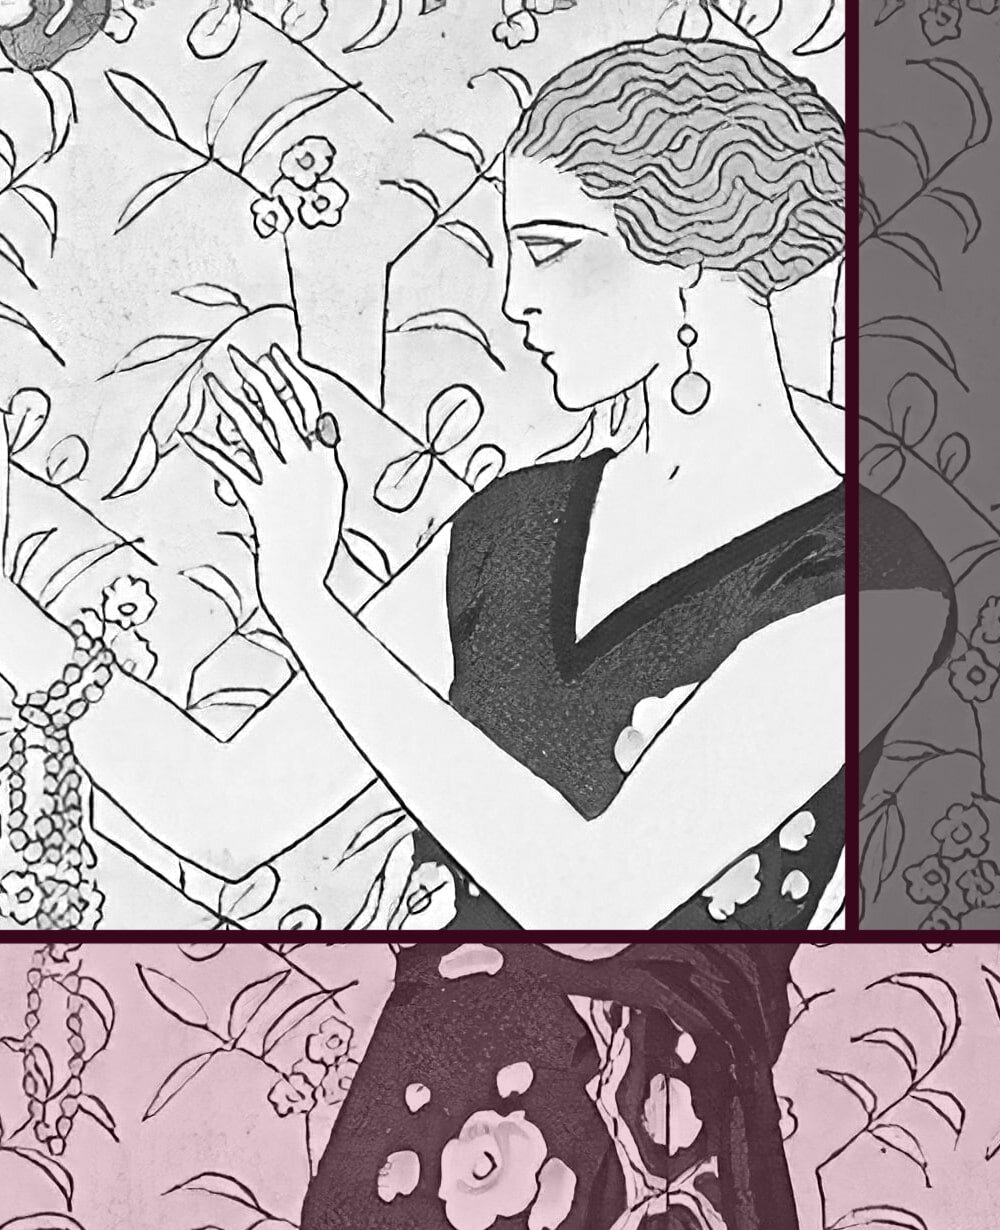
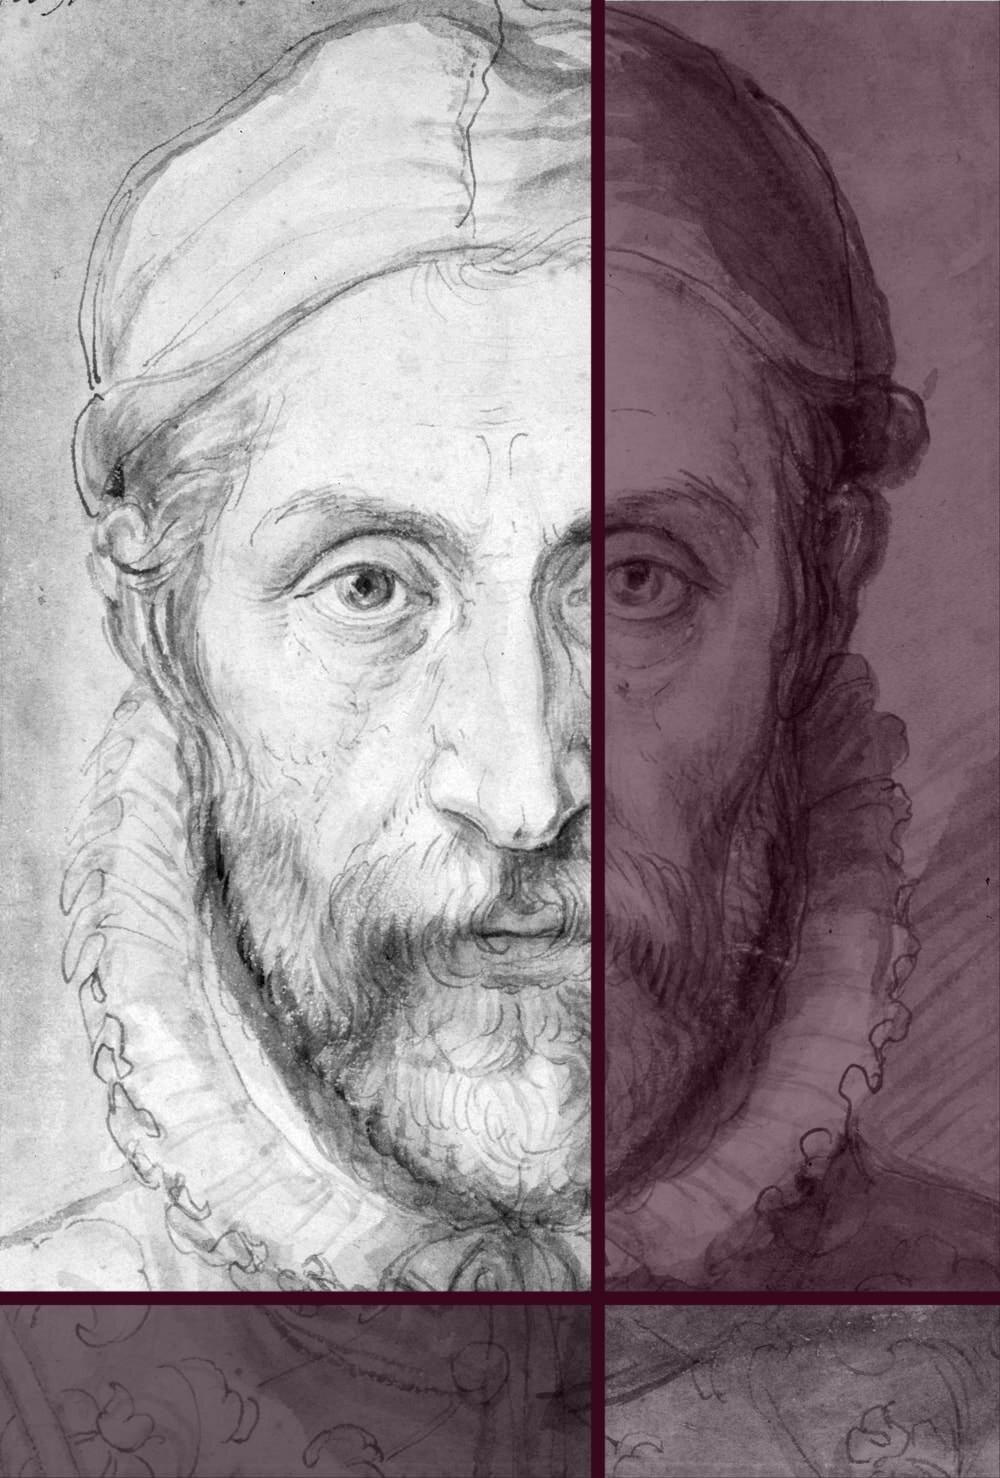
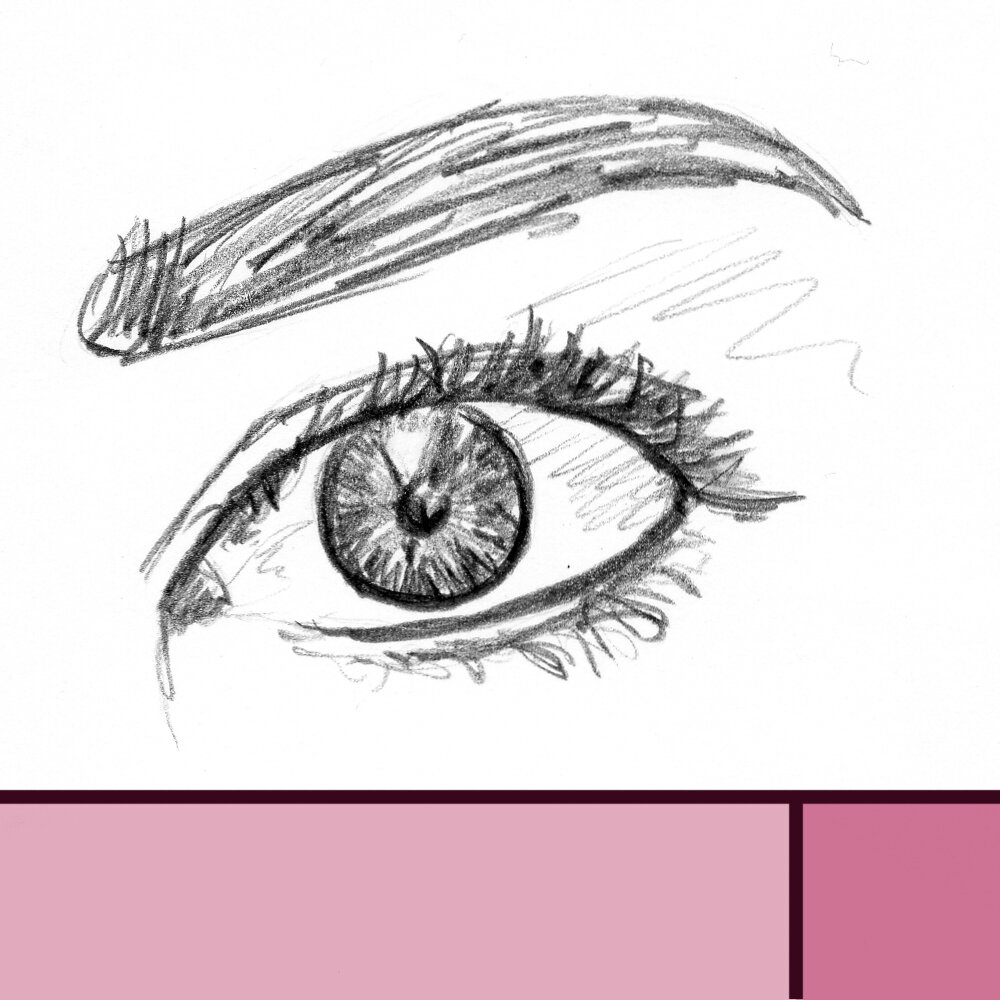
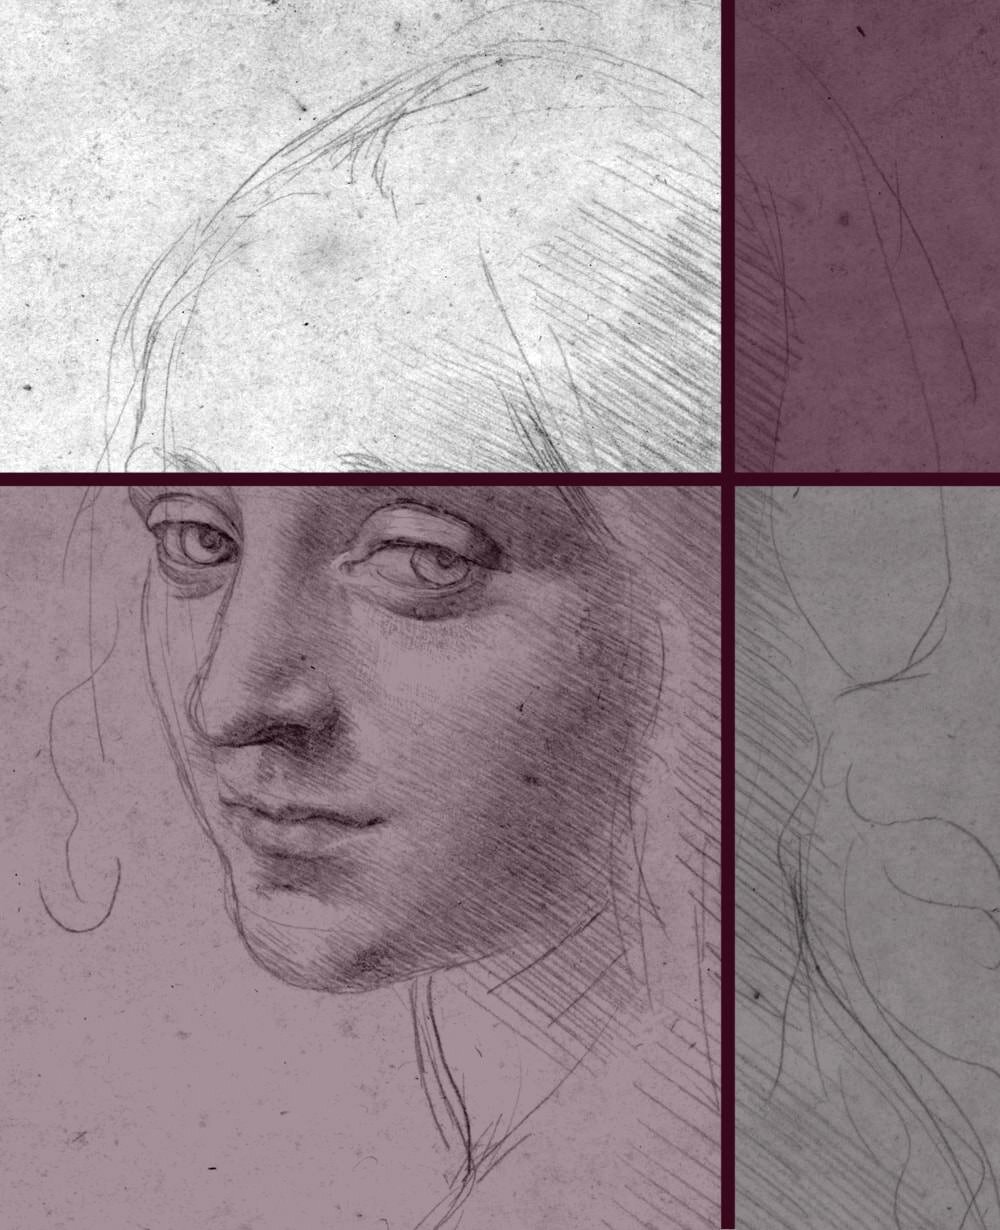
This kind of photograph is extra compelling when it covers part of the artwork, showing only a fraction of it. Considering how the human mind works, the viewer is likely going to want to see the whole piece, so they’ll click into your profile or go to your website.
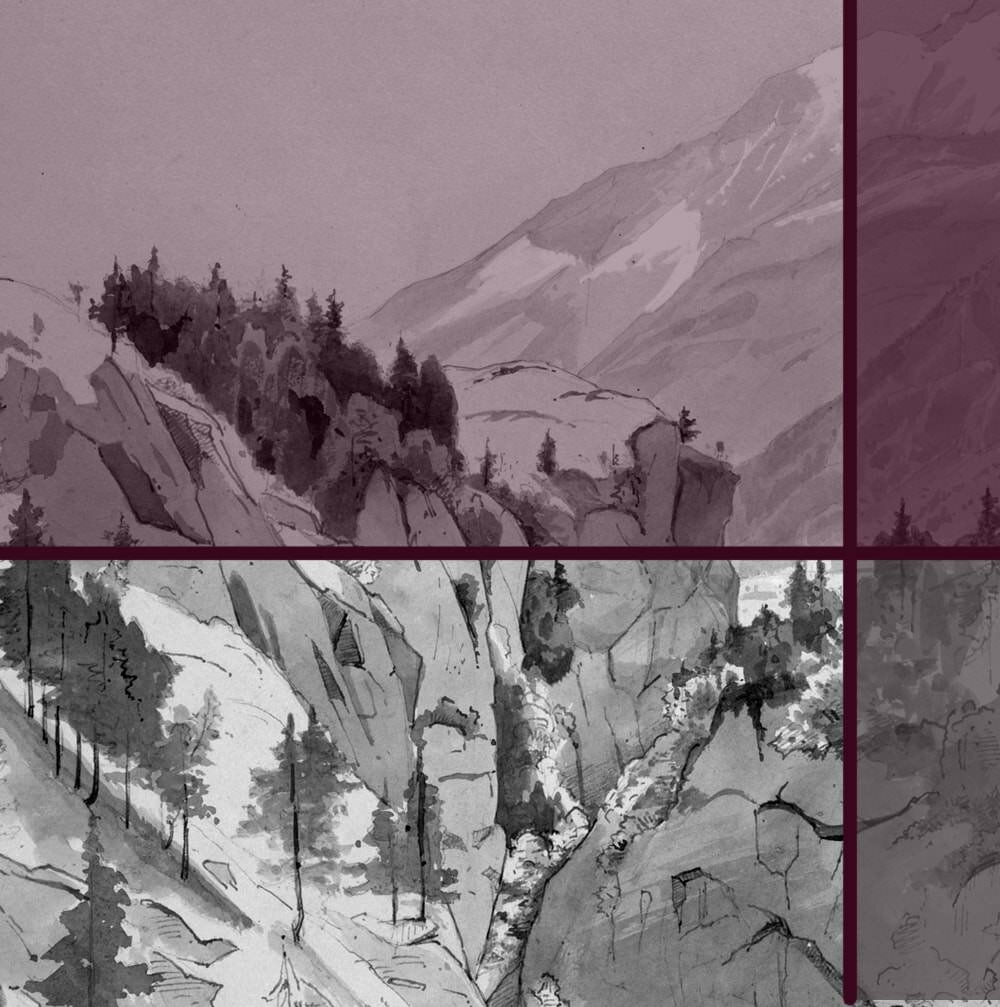
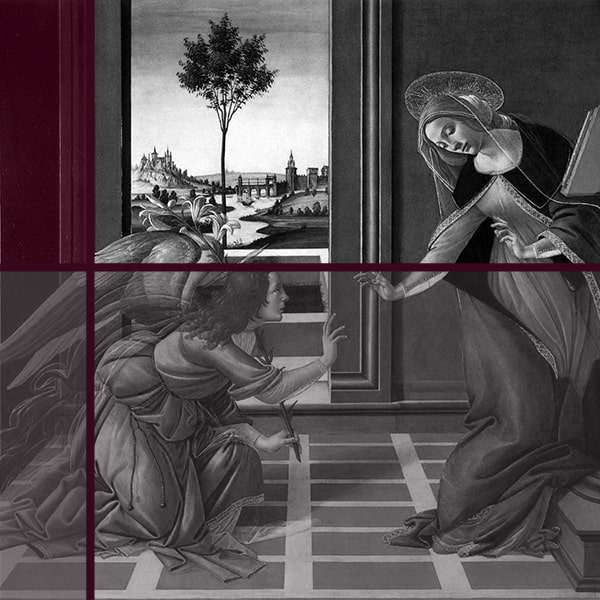
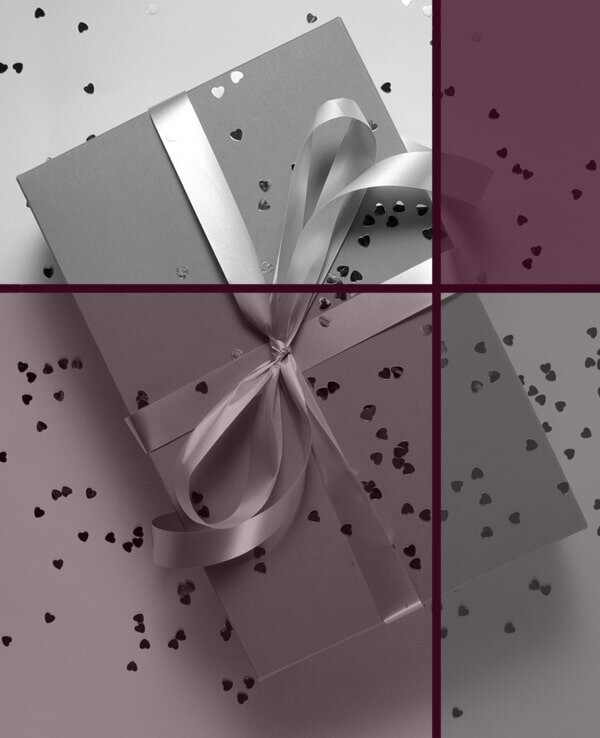
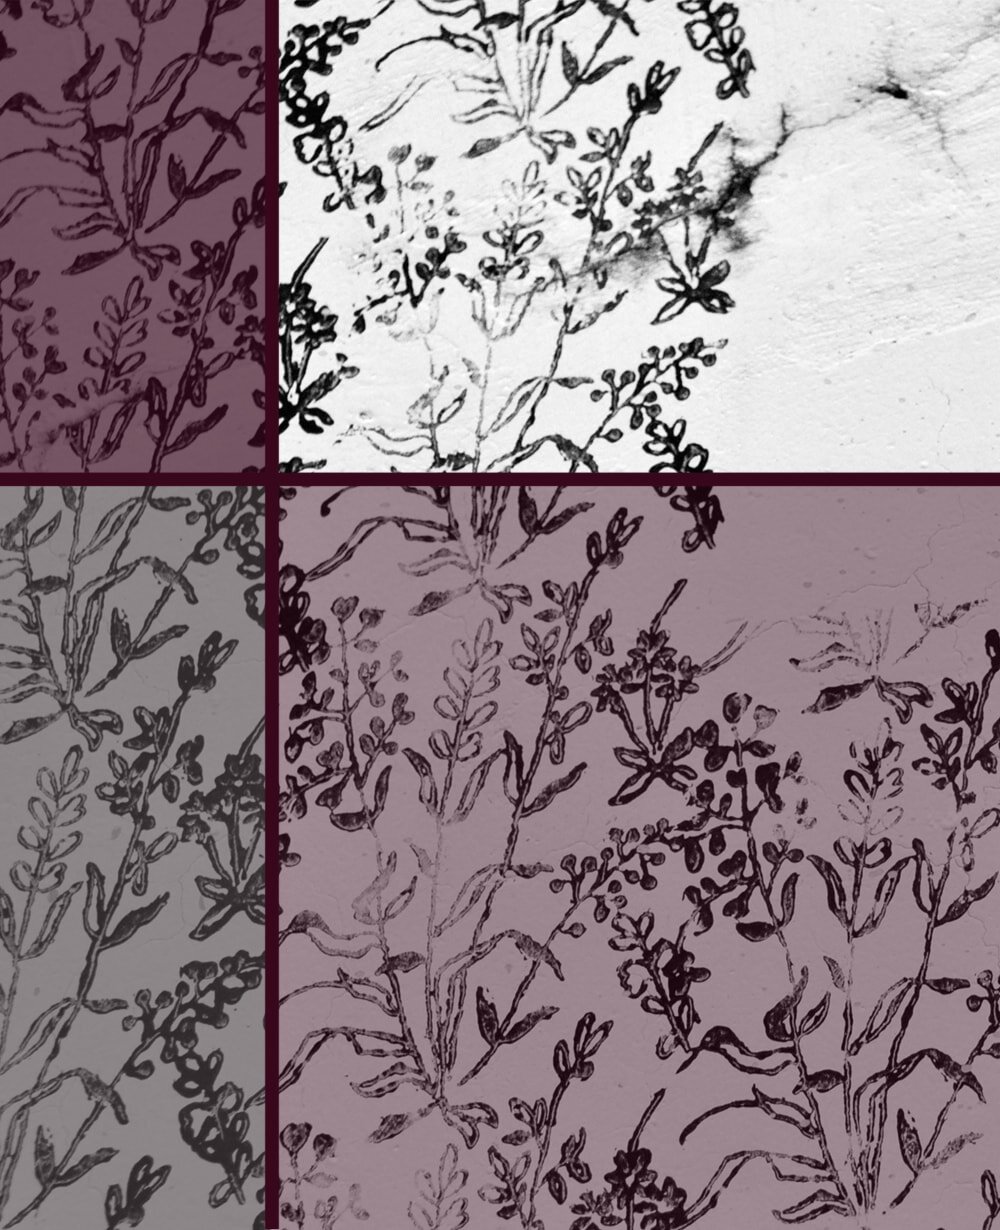
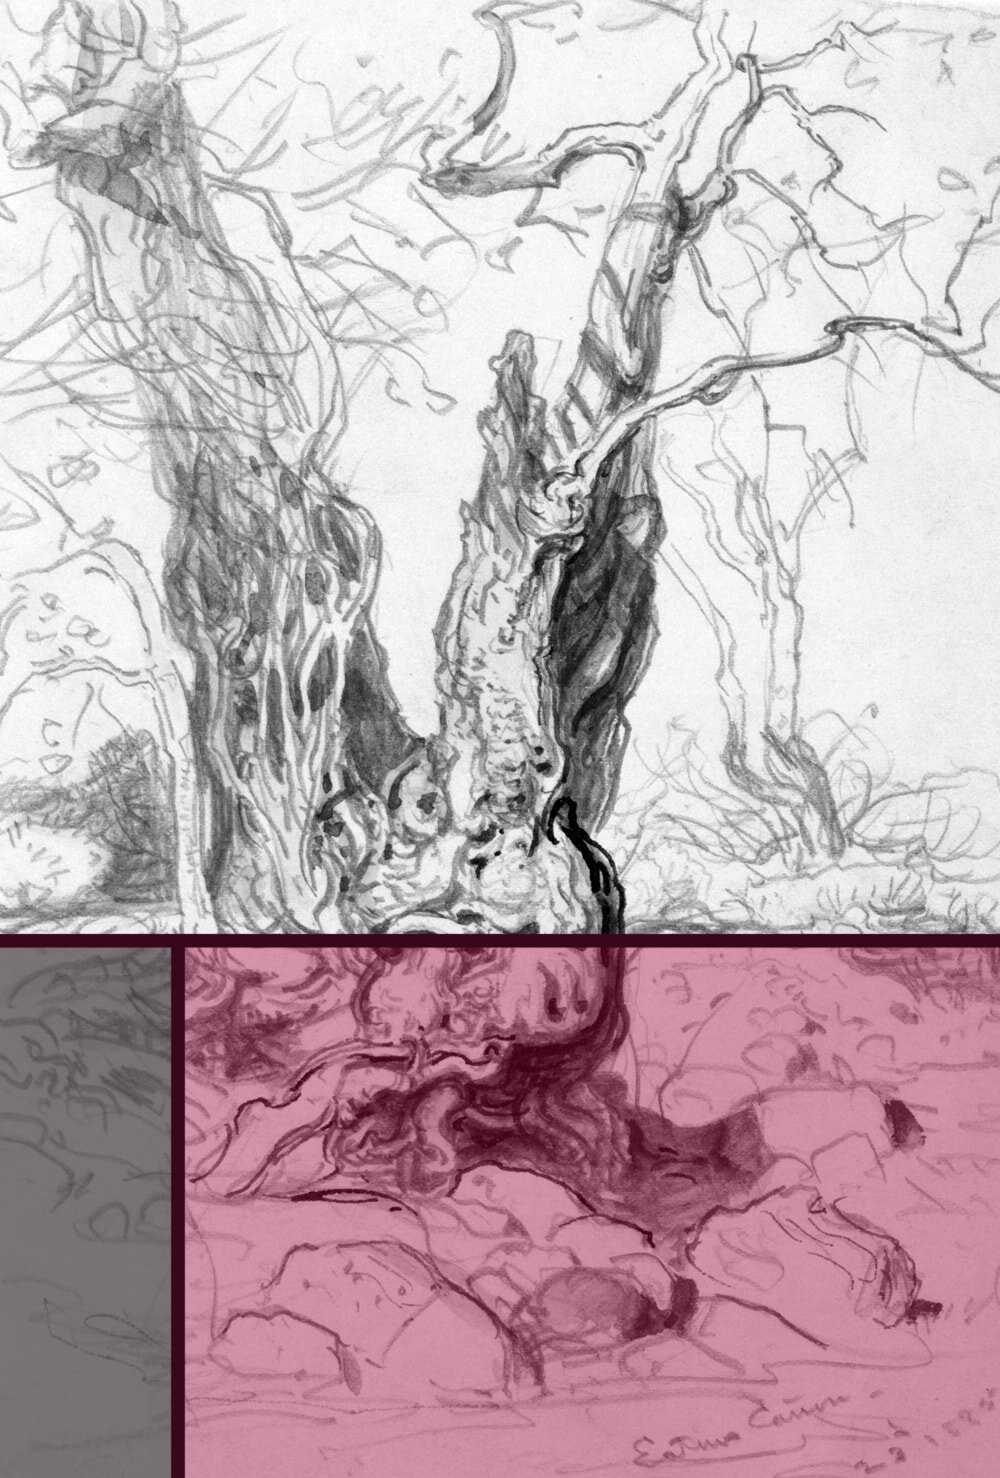
A very popular layout is arranging several pieces in one photograph, often with some either slightly blurred out or cut off in parts. It shows that you're not just a "one-hit-wonder" but a working artist, and it indicates to the viewer that there's more to be seen where this photo came from.


It’s also visually stimulating if you use topic-related props, such as flower petals for a drawing of your garden in spring. Of course working out the design and obtaining and arranging the props can take some time, so this is mainly used for your very best work.


Naturally these are just a few ideas, there are many other possibilities out there and I’m sure you could come up with a million more if you put your mind to it.
I find that it often helps to think about what kind of art you’re photographing in the first place, and then adapt the composition to it. If your art is very neat and refined, choose a layout that plays into that, and the other way around.
Think of the photograph and everything in it as an extension of the artwork itself. Showcasing your art should be as much of an exercise in creativity as creating it, and there are virtually no limits.


Did you enjoy this article or feel like you have anything else to add? Feel free to leave me a comment below!
If you like this post, please share it, so others may like it too!

